

RetroArch gifted us a feature we emulation enthusiasts love to use: The general support for Shaders to change the look of emulated games. I want to spotlight a non standard package that you can download and use right now.
Update: Since the blog post was written, number of huge changes are done on this Shader package. It’s settings makes use of -hd- presets instead of -ntsc- and the entire project name changed to reflect this. PAL versions are also added and the newer versions of all Shaders are much improved and changed how they look too. The new name is “Sonkun’s crt-guest-advanced-hd Slot Mask presets“.
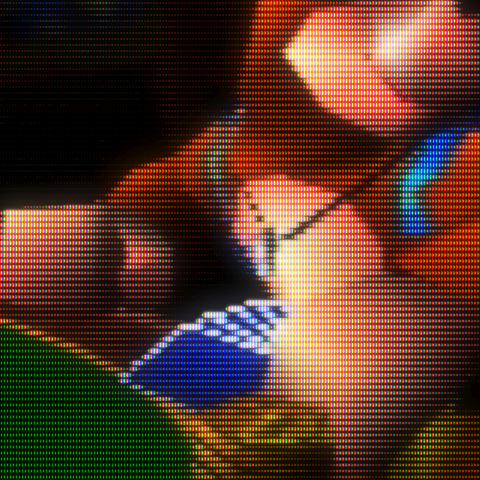
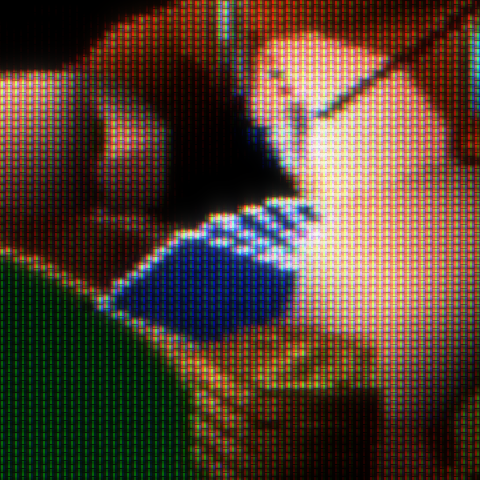
To understand the reason for the existence of these presets, you need to understand the different kind of CRT monitor displays. If you look closer, you will notice that some CRT monitors and TVs look different in how they display the image. The most used types are “Shadow Mask” (typical consumer PC monitor), “Aperture Grille” (typically used by professional Sony TVs) and “Slot Mask” (marriage between the other two types and often used in consumer TVs).
Table of Content
Shader presets are configurations or combinations of multiple Shaders and saved as a separate file for easy access or sharing.

Public Domain at Wikipedia
The user “sonkun” from official Libretro forums took the Shader “crt-guest-advanced-ntsc” and modified the settings to make use of the slotmask type, alongside some other changes and additions. They also come in multiple versions optimized for a few standard screen resolutions. These are to match your real monitor’s native resolution. At the moment it is not part of official Shader package that would come with RetroArch. You have to download and install the entire package manually.
Installation
- Make sure to update the RetroArch Shaders first. The presets we are going to download depend on the original “crt-guest-advanced-ntsc” Shader.
- Next, go to the forum post at Sonkun’s crt-guest-advanced-ntsc Slot Mask presets and scroll a little bit down after the screenshots. There is a download link for the package.
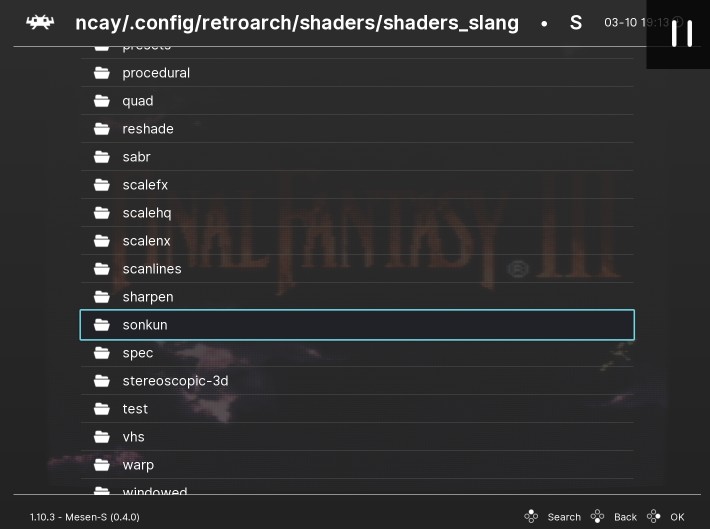
- Extract the .zip content. Take the folder “sonkun” and put it in the same directory where your other Shaders are, meaning put it under RetroArch folder > “shaders/shaders_slang”. On my system it is “/home/tuncay/.config/retroarch/shaders/shaders_slang/sonkun/”
That’s basically it. You successfully installed custom Shader presets. Now you can use them just like any other Shader too, by loading it up in RetroArch through the menu.
The structure
The filenames contain meaningful information and you should understand them when choosing a preset. The first thing you will notice is, that there are 3 different folders with presets optimized for specific monitor resolution: “1080p”, “1440p” and “4k”. Choose one that is closest to your monitors resolution. I’ll explain each segment of the filenames.
The naming scheme is:
01-crt-guest-advanced-ntsc-slotmask-default-composite.slangp
05-crt-guest-advanced-ntsc-slotmask-j-warm-s-video.slangp
20-crt-guest-advanced-ntsc-slotmask-pal-cool-s-video.slangp
24-crt-guest-advanced-ntsc-slotmask-alt-color-cool-rgb.slangp
| id | based on Shader | screen type | region color | color temp | cable connection type |
|---|---|---|---|---|---|
01 | crt-guest-advanced-ntsc | slotmask | default | warm | composite |
- ID =
01: Identification for quick reference. Especially useful in discussions when talking about the different variants, but all names look similar. - based on Shader =
crt-guest-advanced-ntsc: Name of the Shader this preset is originally based on. - screen type =
slotmask: Alternation of settings to make use of slotmask type of screents. CRTs have different kind of display types. - region color =
default|j|u|pal|alt: Region coloring. There are slight differences in the NTSC coloring in different regions such as Japan and USA.defaultis neutral andaltis an alternate variant for fun.palis obviously the PAL region. - color temp =
warm|cool: Color temperature setting on the monitor. Either shifted towards red (warm) or towards blue (cool). A common setting to adjust on a TV, so you can choose a preference here. This settings is not available fordefaultregion, as that is neutral. - cable connection type =
composite|s-video|rgb: Resembles the cable connection quality. There was three (if we ignore “RF”) main type of cables used to connect the game console to a TV back then. Each of these cable types had different effects and ranged from worse to best.rgbis the best and was often used on a PC or in Arcades in example. The other have degraded quality.compositeis worst and often used in 8-bit generation of consoles ands-videois kind of the better version ofcomposite.
Screenshots
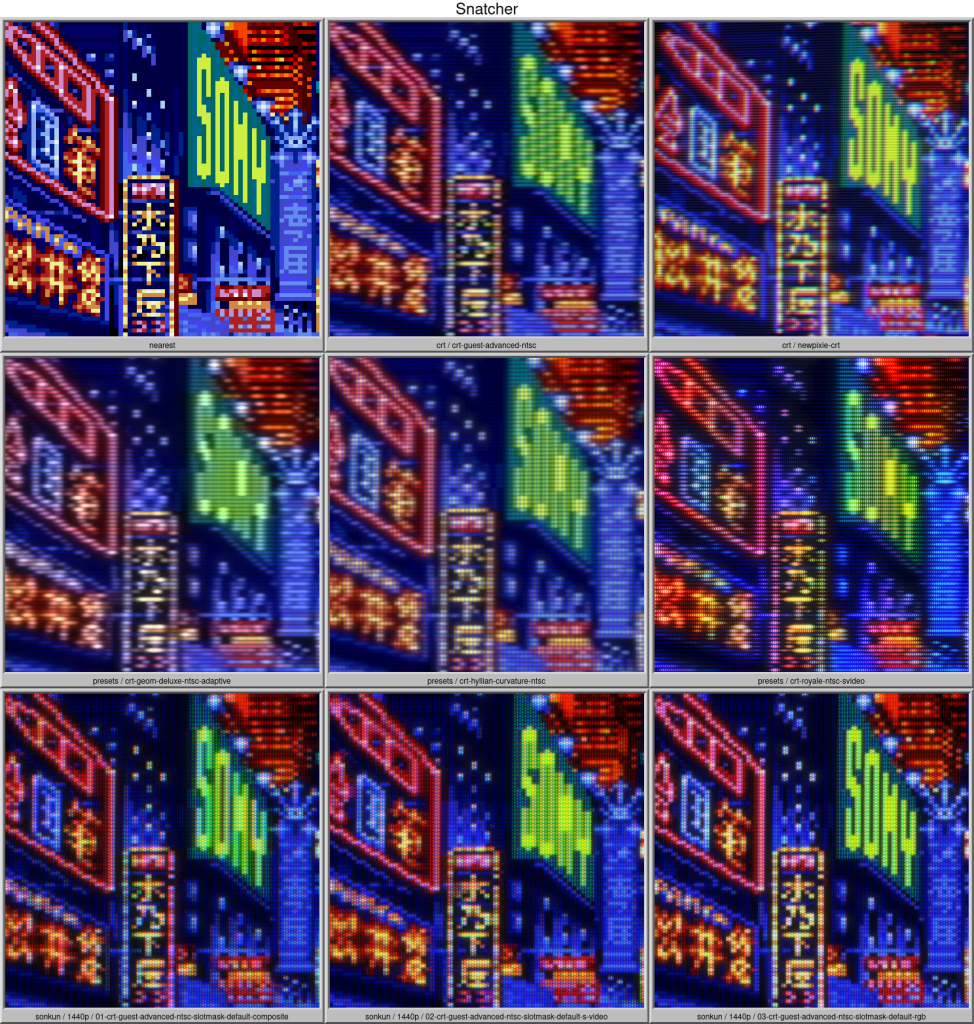
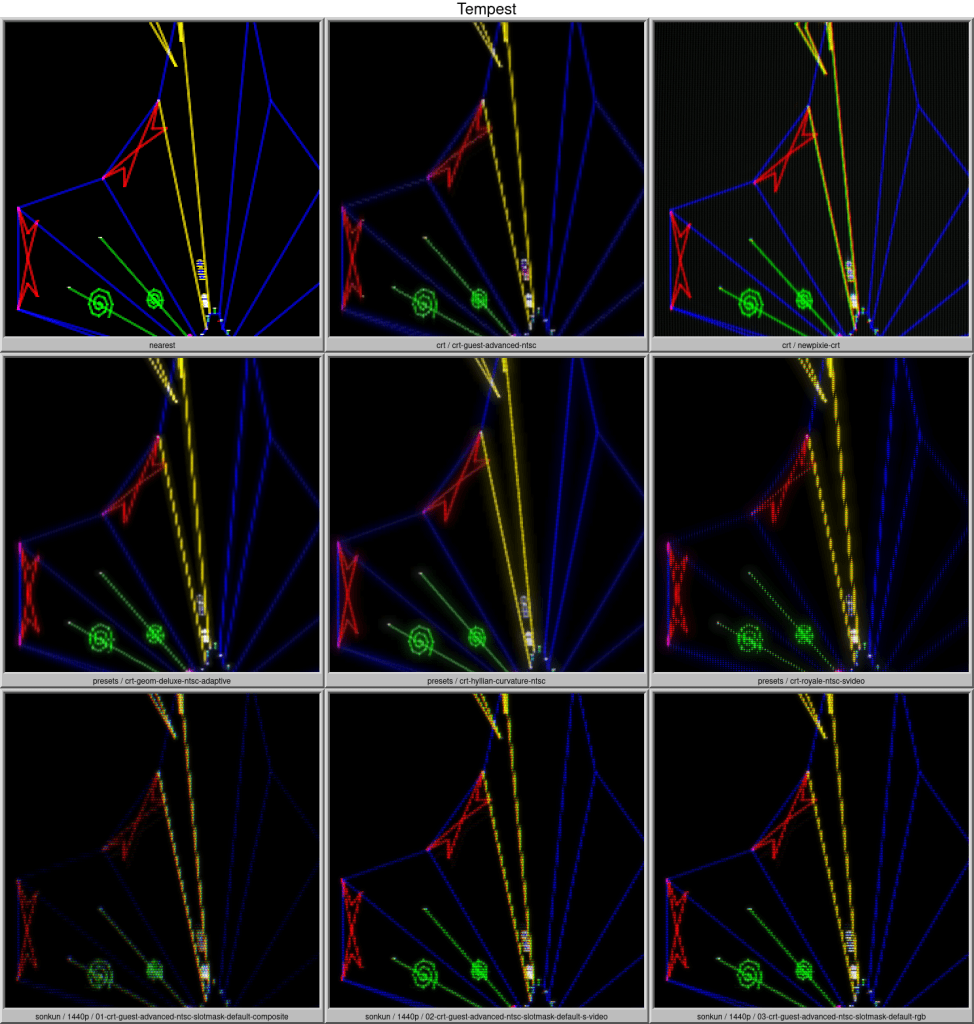
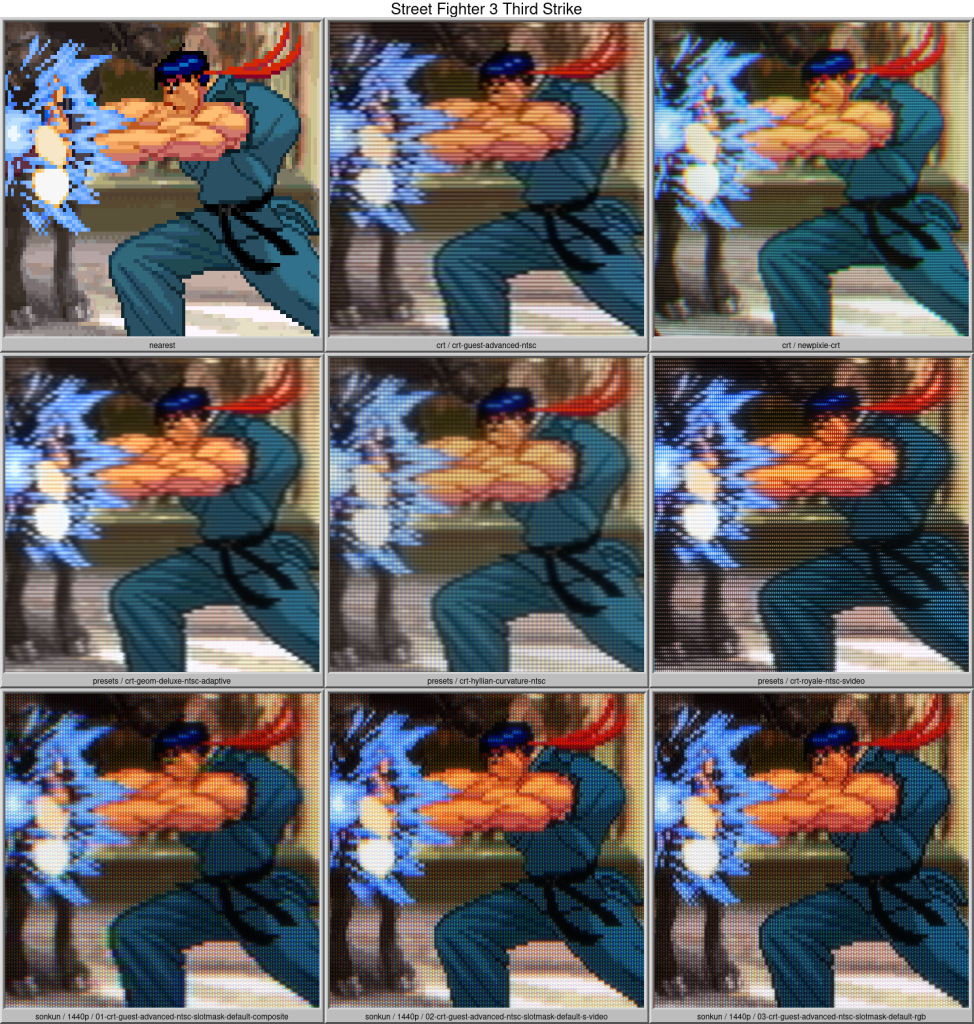
All images here are taken on my PC with “Integer Scale” set to ON and “Integer Scale Overscale” to OFF. Also the “Aspect Ratio” is set to 4:3 as well. “Bilinear Filtering” or any other effect is deactived.
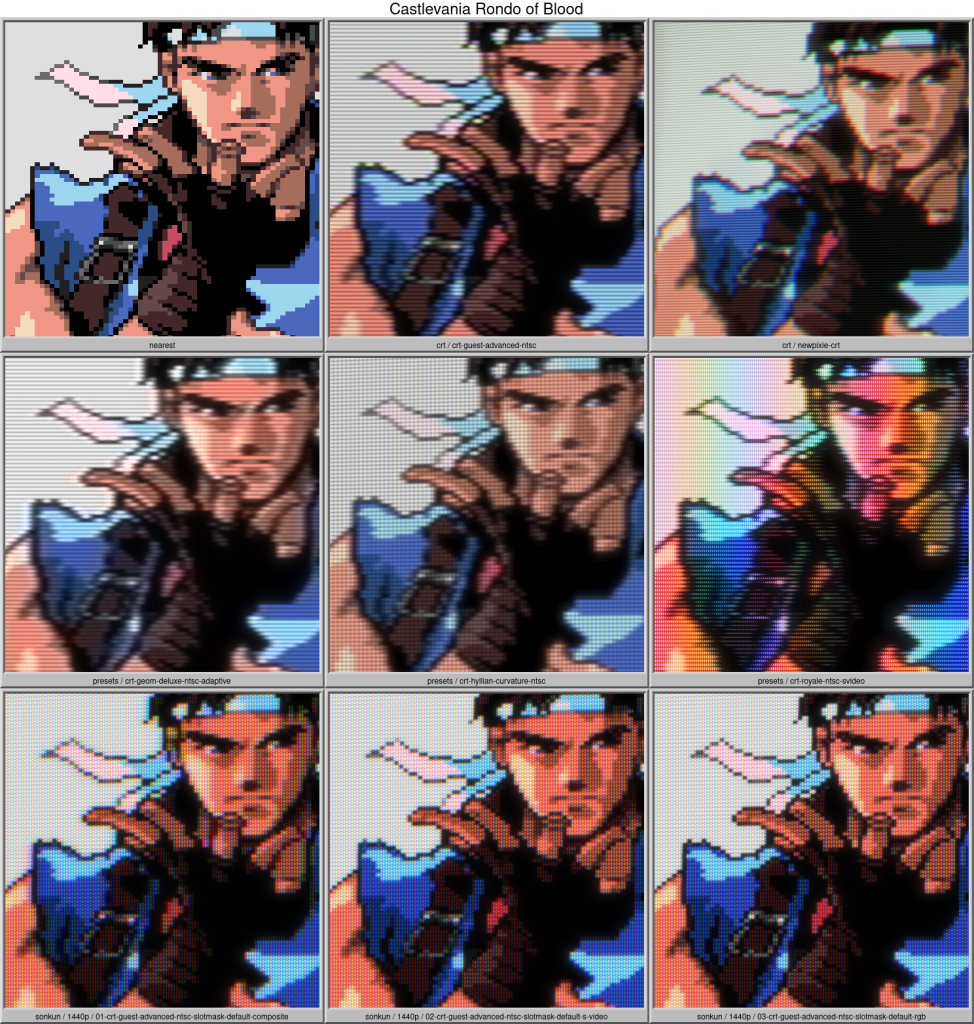
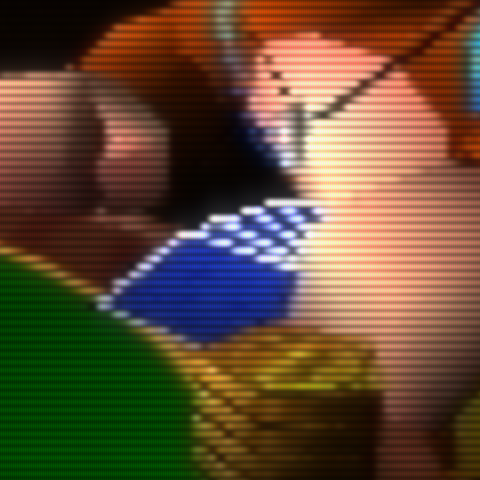
Before you are looking at the screenshot, you should know that some of the effects are not visible in a single frame. There are effects coming to life only when looking it in motion. Also looking the comparison shots at 100% closeup size can also lead to wrong conclusion. Because usually you don’t look close to the monitor on high resolution such as 4k, yet the 100% pixel perfect close up view of the crops does exactly that. Have this in mind, this is important before you come to any conclusion. Plus when viewing full sized images, make sure to not scale them down or up and always look at 100% view size. Otherwise artifacts are introduced that are not seen when playing the actual game. Anyway the best way of knowing how good a Shader is by just loading it up and testing it yourself.
I will focus on the default color temperature and region types. They mostly differ in the coloring.
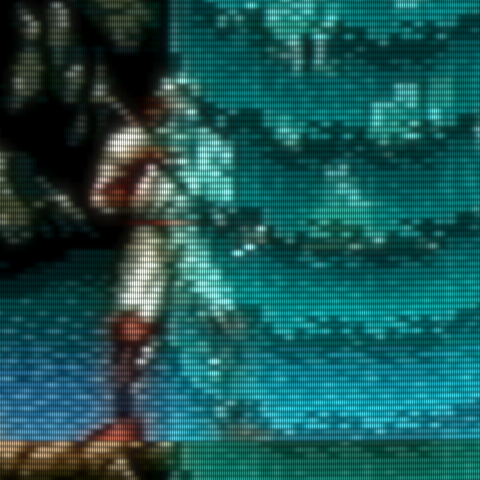
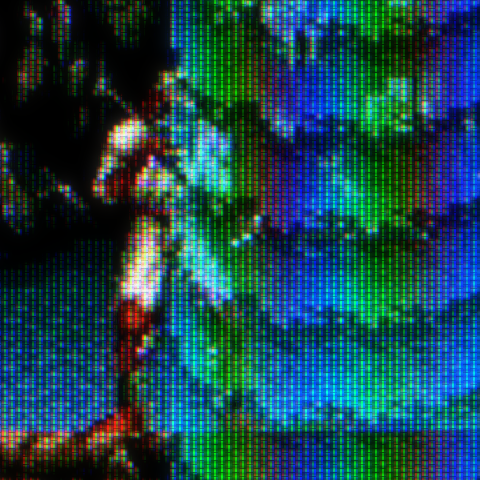
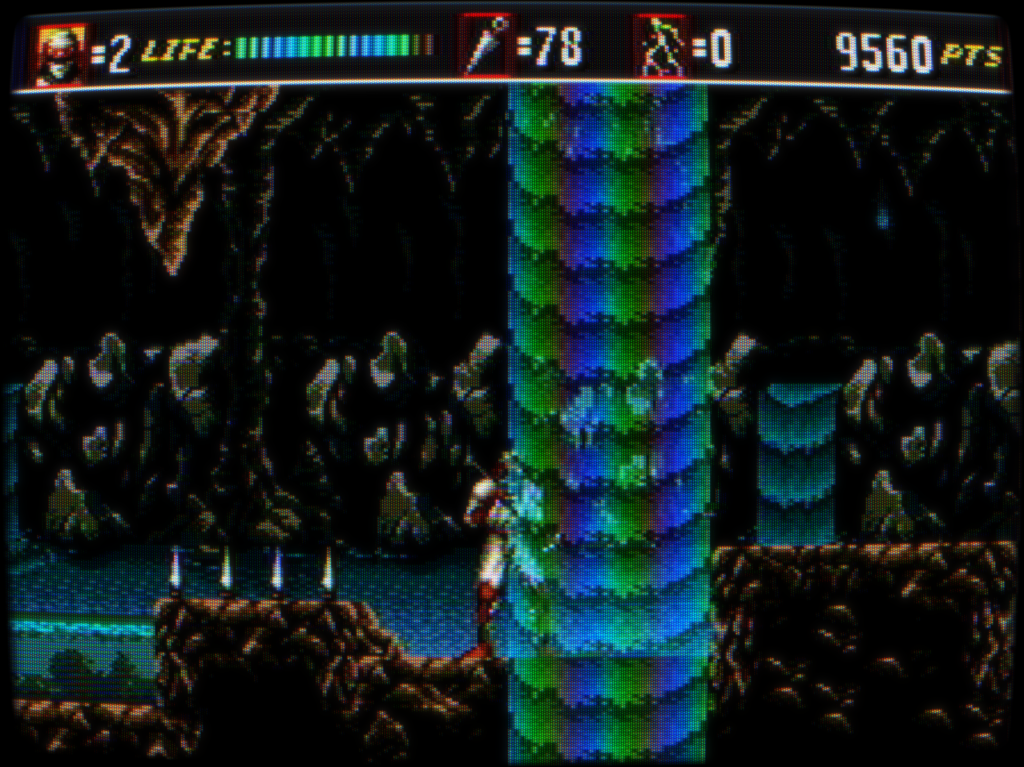
Shinobi 3 (Genesis)

vs
1080p/03-crt-guest-advanced-ntsc-slotmask-default-rgb
vs
1440p/02-crt-guest-advanced-ntsc-slotmask-default-s-video
vs
4k/01-crt-guest-advanced-ntsc-slotmask-default-composite

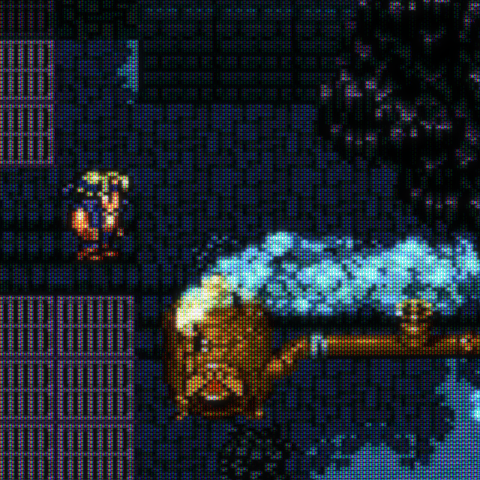
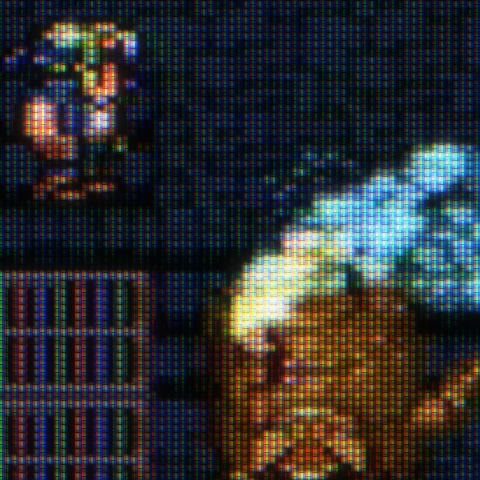
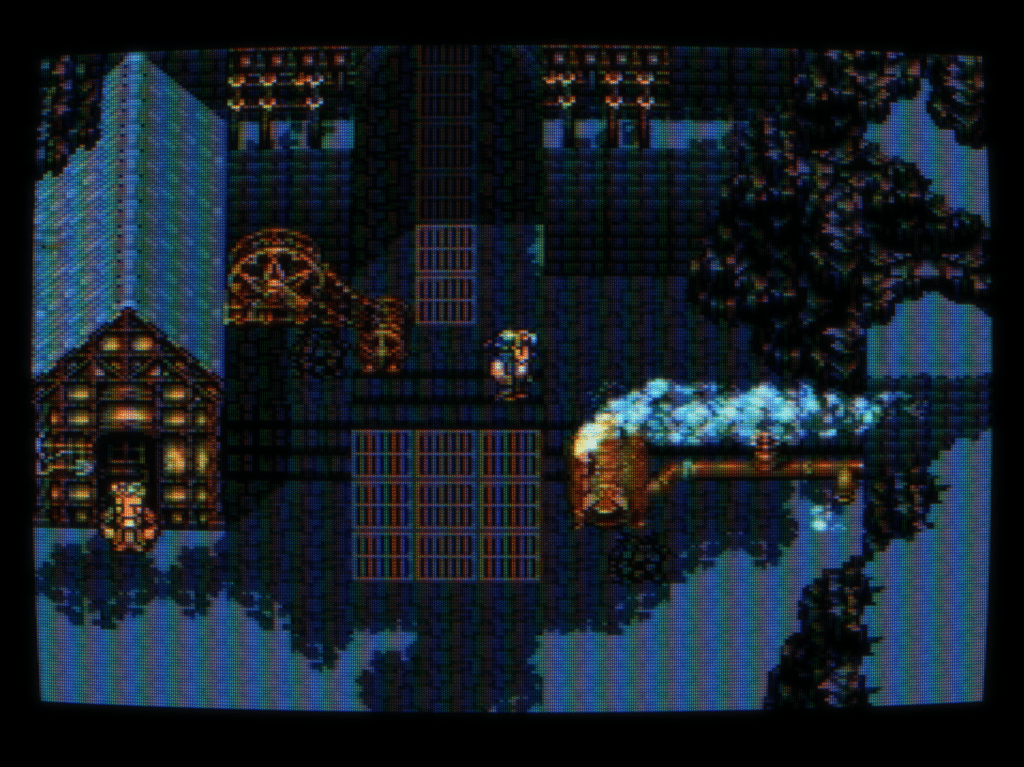
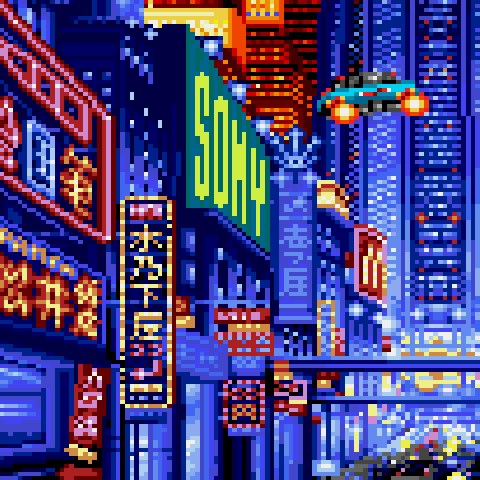
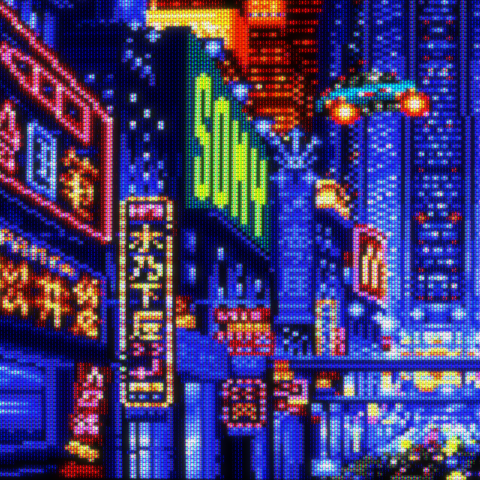
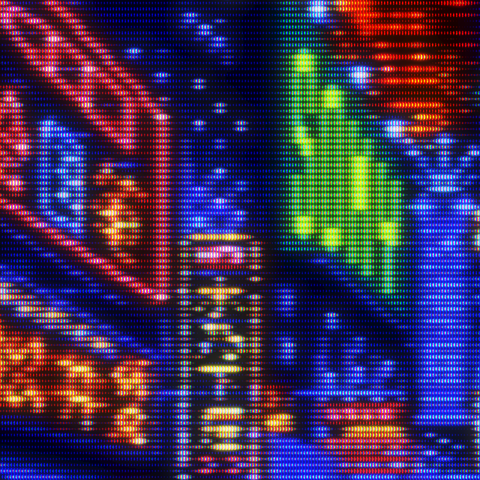
Final Fantasy 6 (Super Nintendo)
vs
1080p/03-crt-guest-advanced-ntsc-slotmask-default-rgb
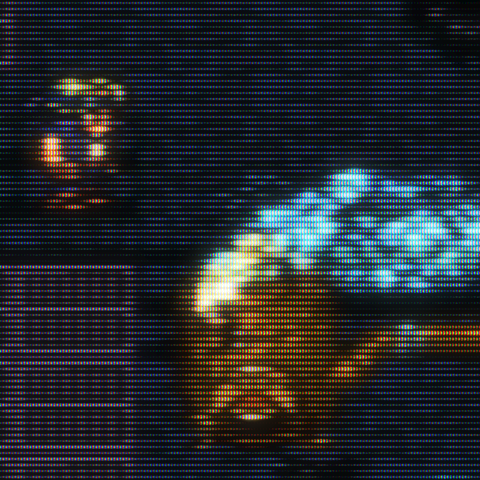

vs
1440p/02-crt-guest-advanced-ntsc-slotmask-default-s-video
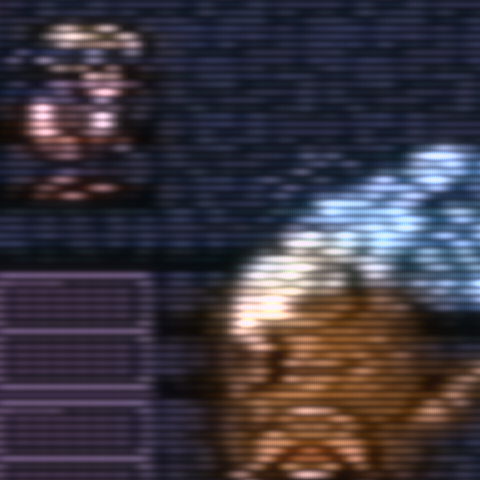
vs
4k/01-crt-guest-advanced-ntsc-slotmask-default-composite

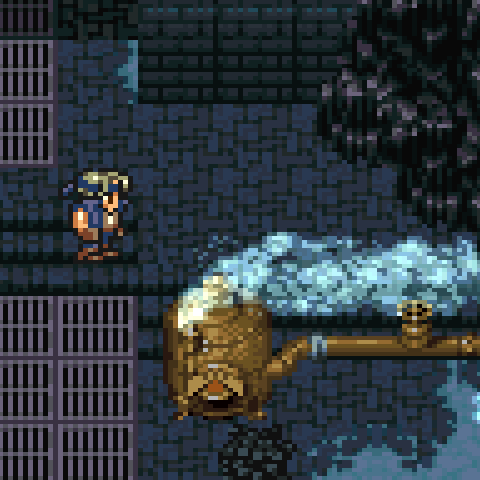
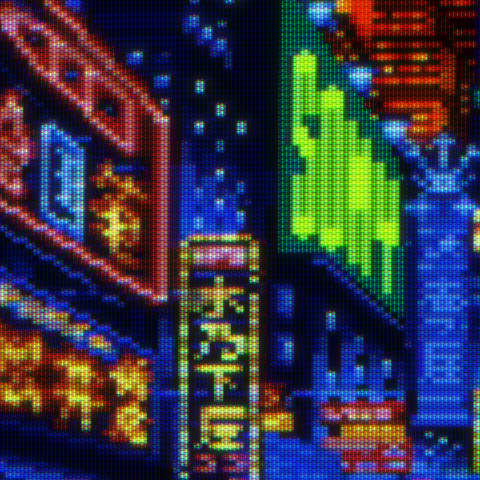
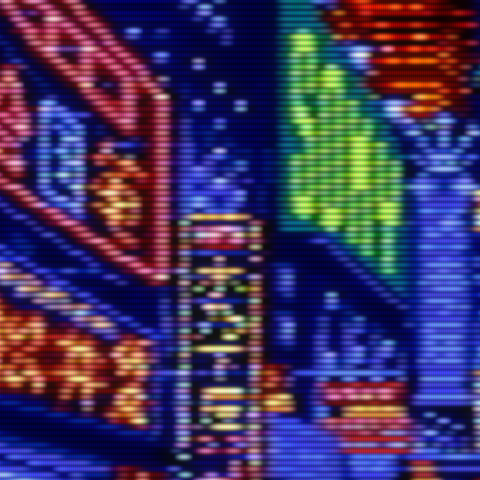
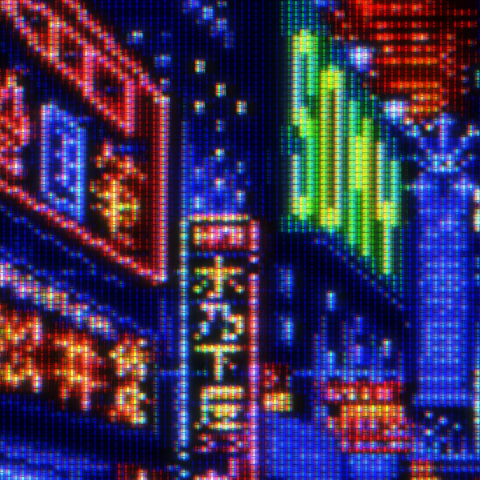
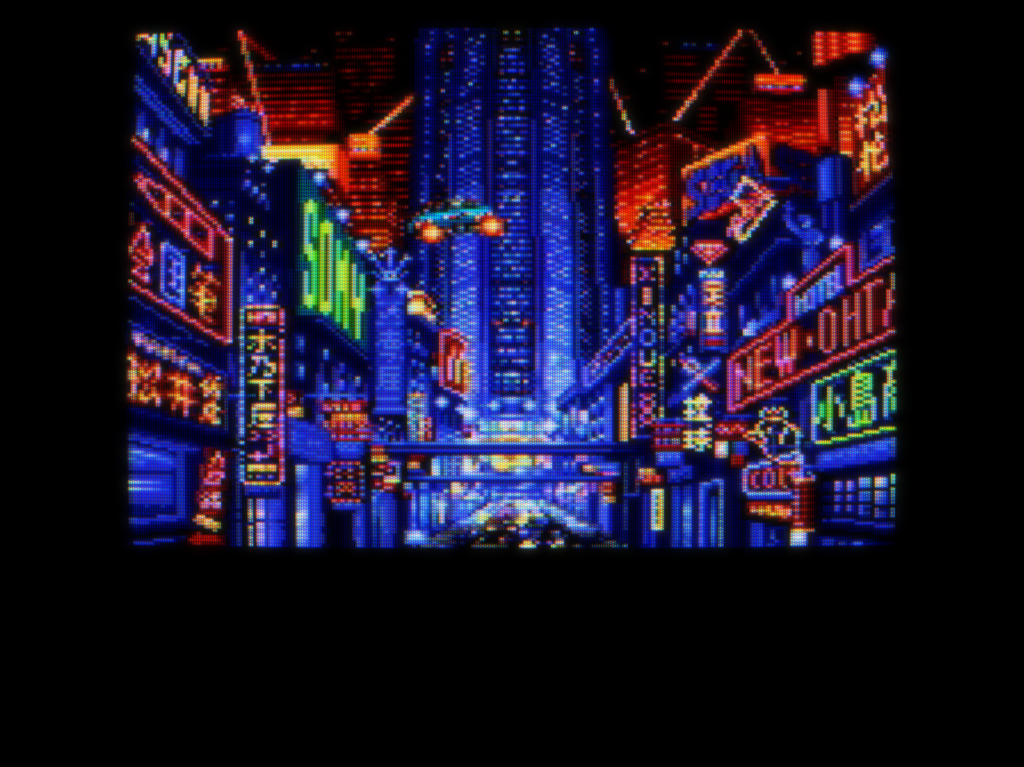
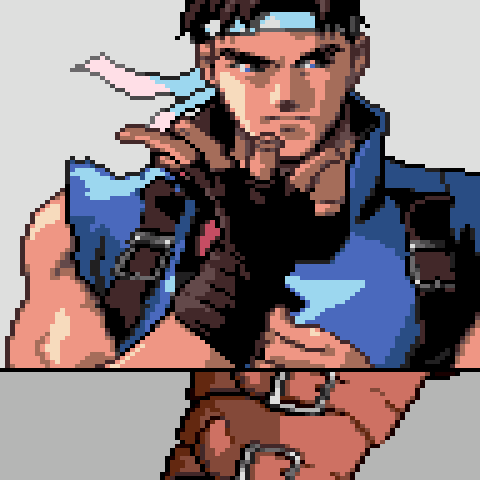
Snatcher (Genesis+Sega CD)
vs
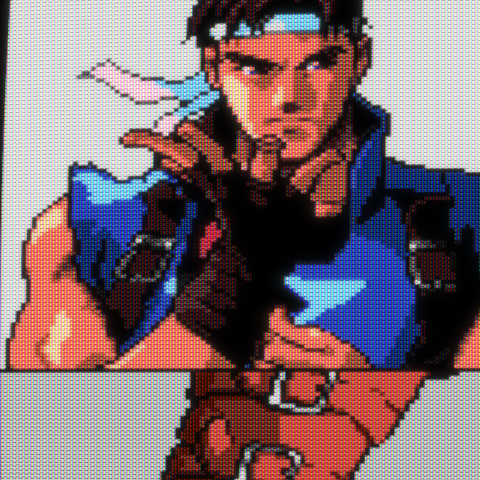
1080p/03-crt-guest-advanced-ntsc-slotmask-default-rgb
vs
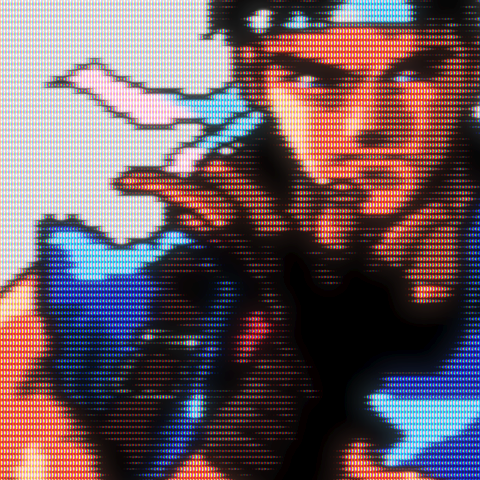
1440p/02-crt-guest-advanced-ntsc-slotmask-default-s-video
vs
4k/01-crt-guest-advanced-ntsc-slotmask-default-composite
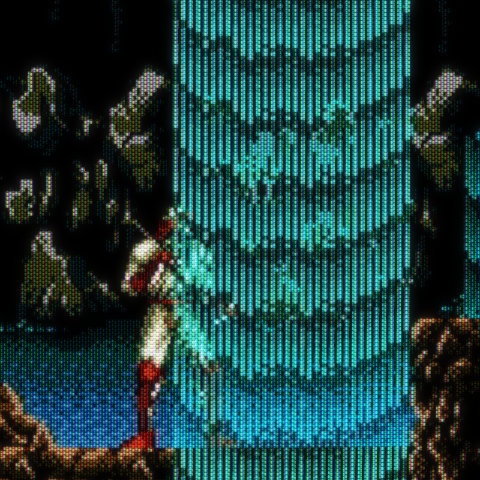
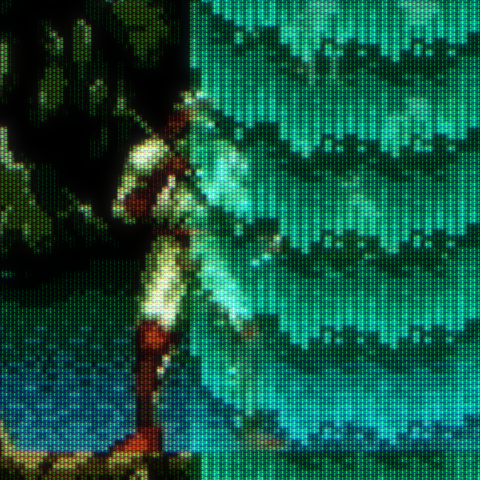
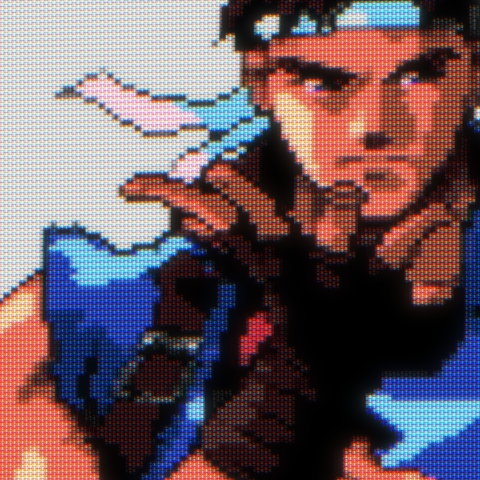
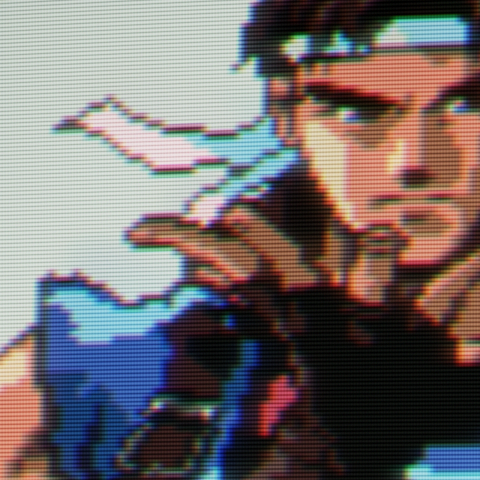
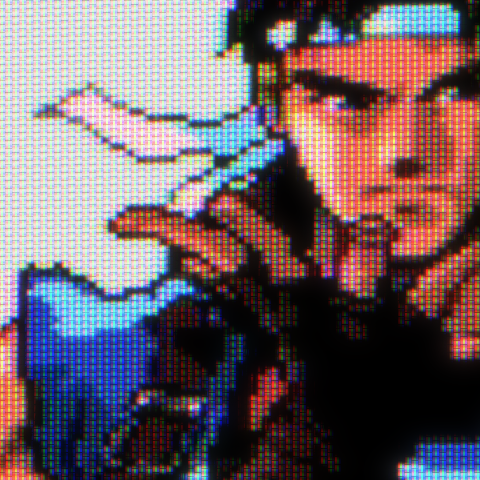
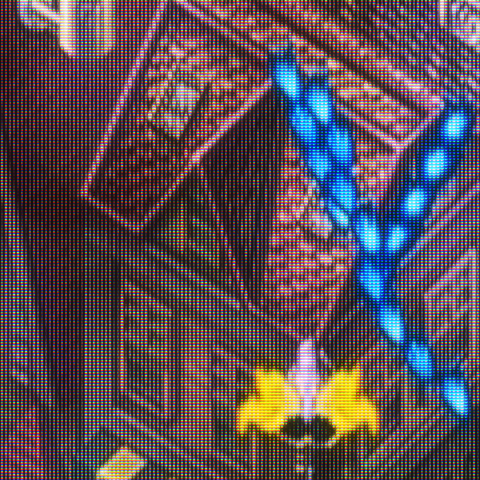
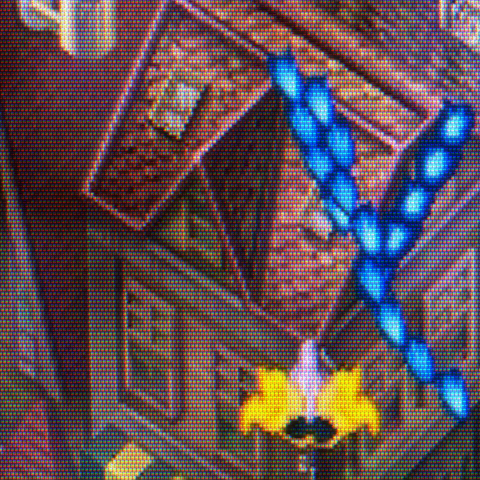
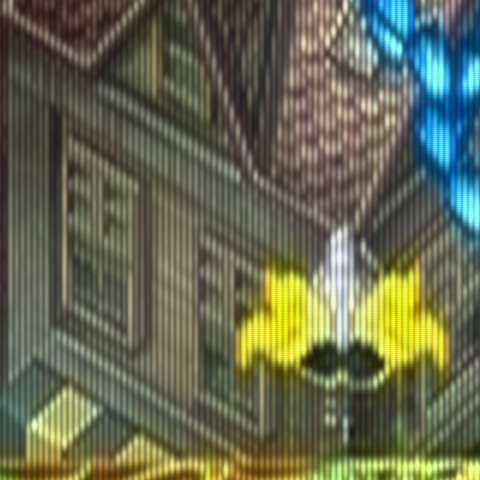
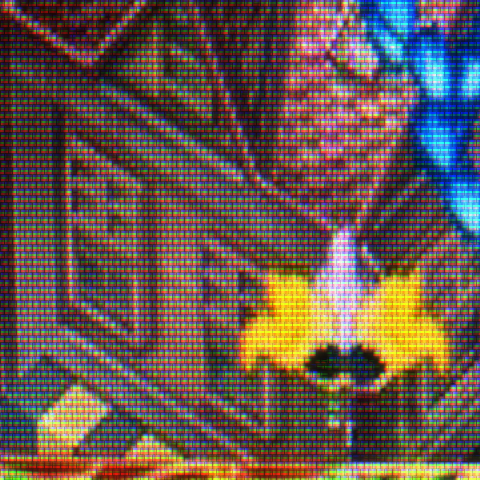
Castlevania: Rondo of Blood (PC Engine)
vs
1080p/03-crt-guest-advanced-ntsc-slotmask-default-rgb
vs
1440p/02-crt-guest-advanced-ntsc-slotmask-default-s-video
vs
4k/01-crt-guest-advanced-ntsc-slotmask-default-composite
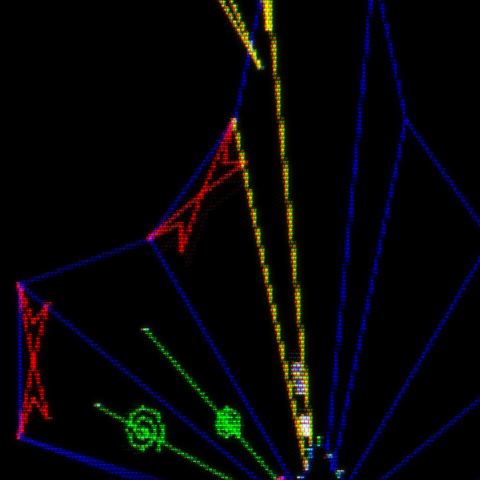
Tempest (Arcade)
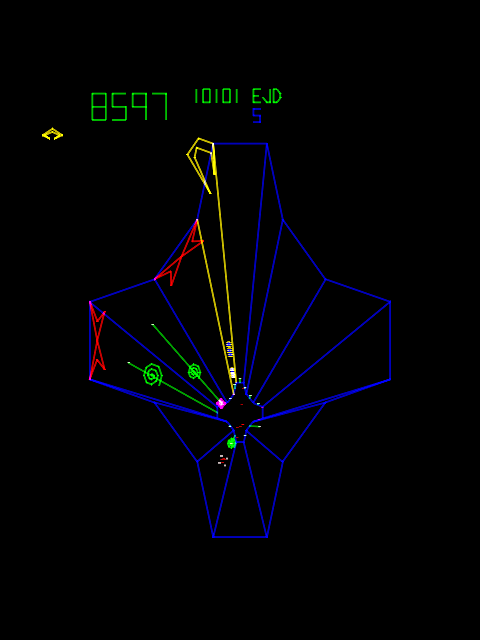
vs
1080p/03-crt-guest-advanced-ntsc-slotmask-default-rgb
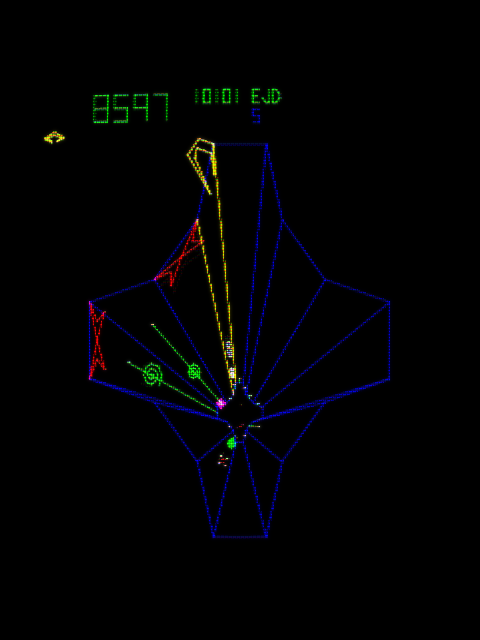
vs
1440p/02-crt-guest-advanced-ntsc-slotmask-default-s-video
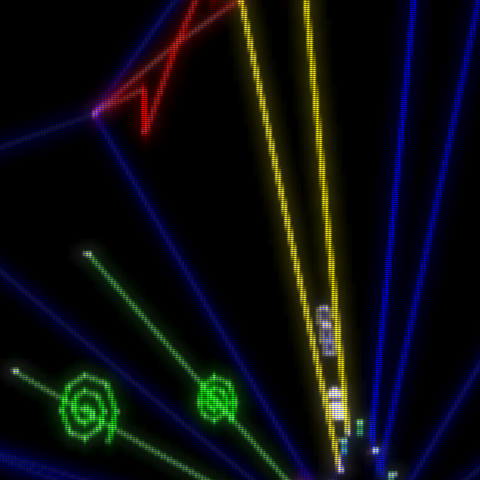

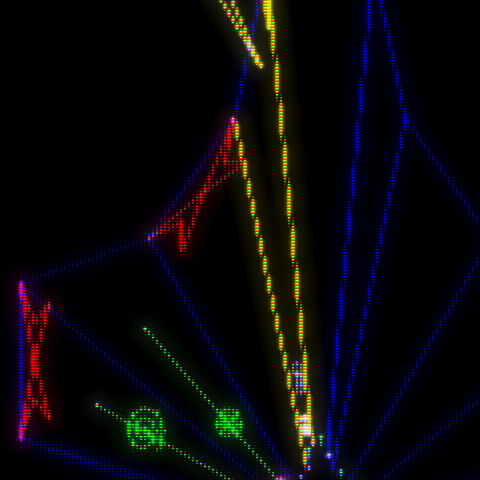
vs
4k/01-crt-guest-advanced-ntsc-slotmask-default-composite

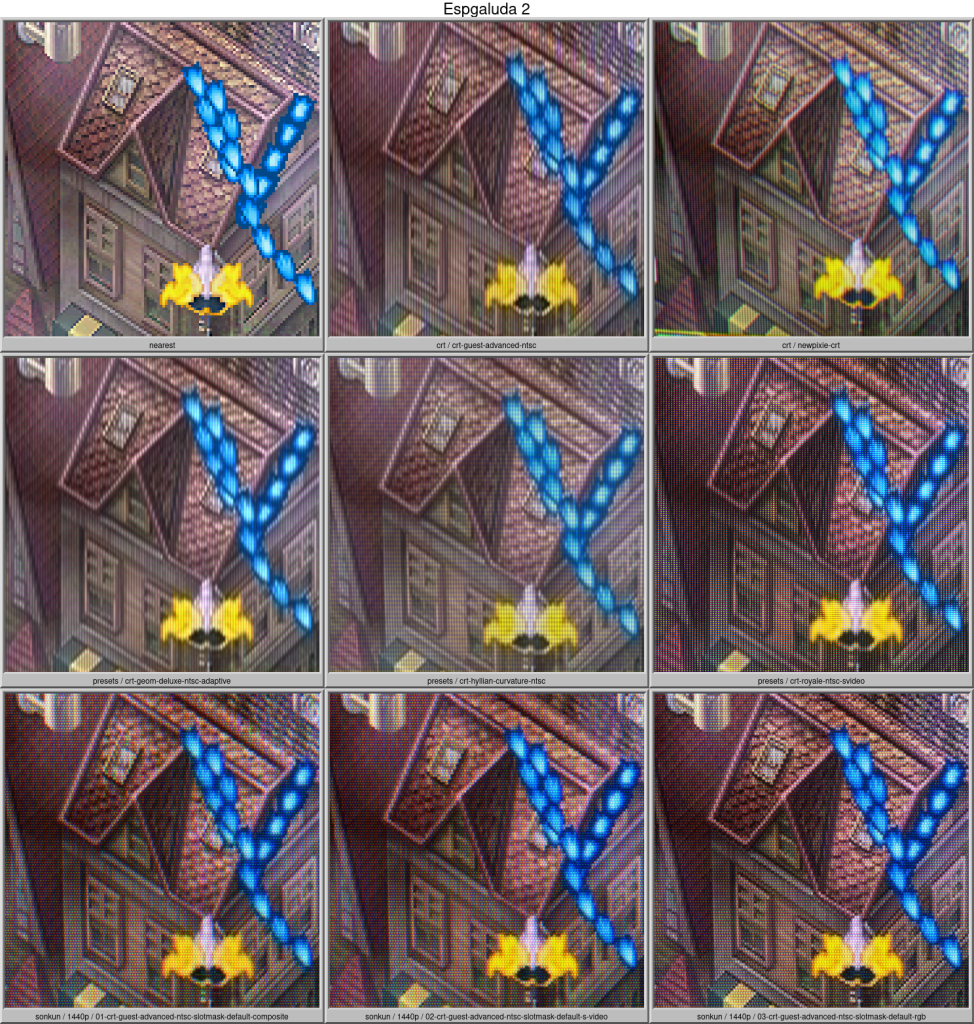
Espgaluda 2 (Arcade)
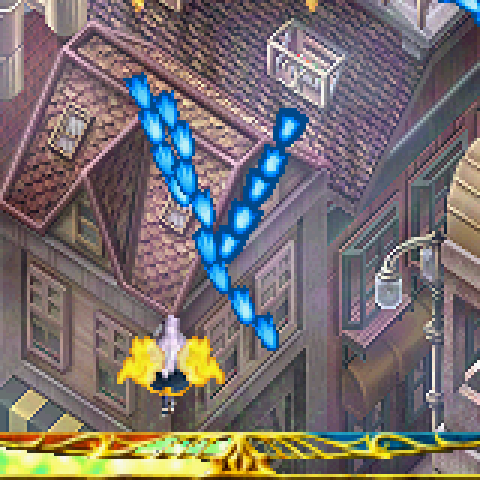

vs
1080p/03-crt-guest-advanced-ntsc-slotmask-default-rgb
vs
1440p/02-crt-guest-advanced-ntsc-slotmask-default-s-video
vs
4k/01-crt-guest-advanced-ntsc-slotmask-default-composite

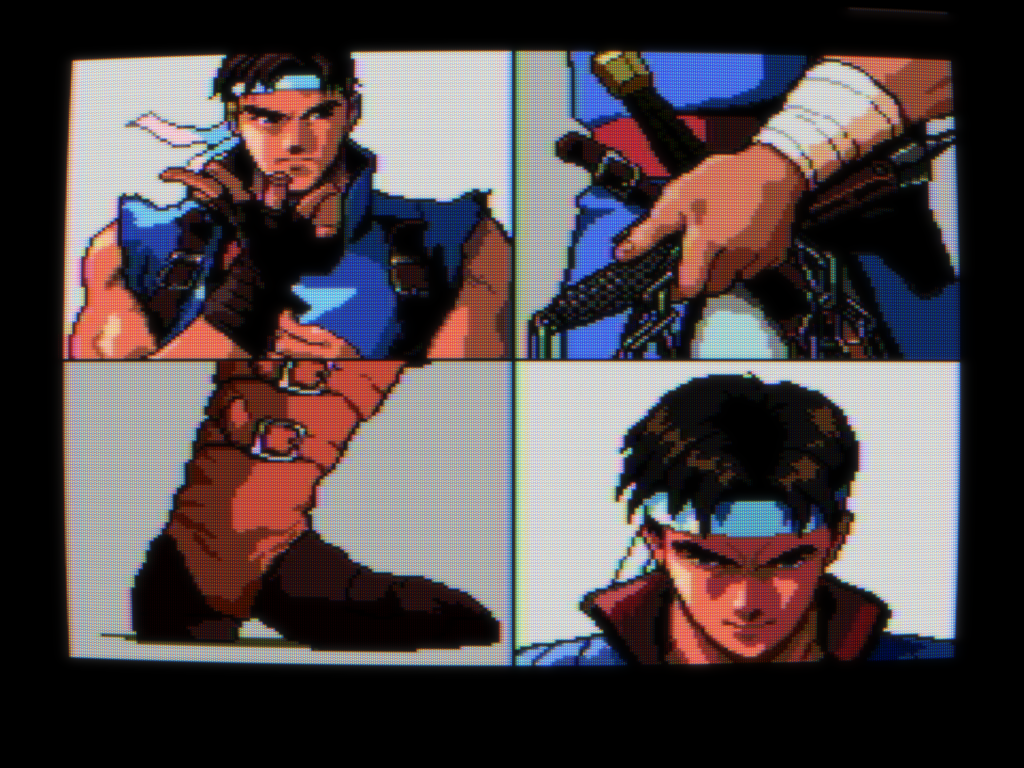
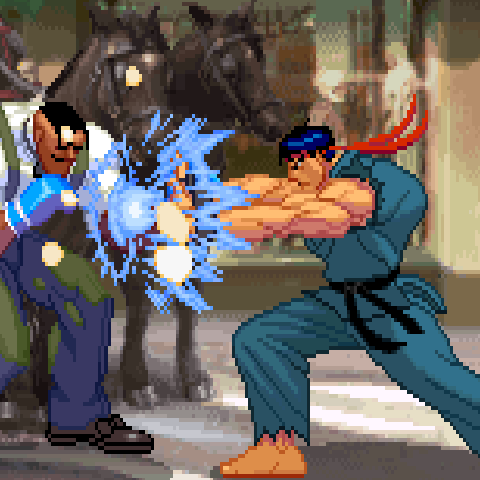
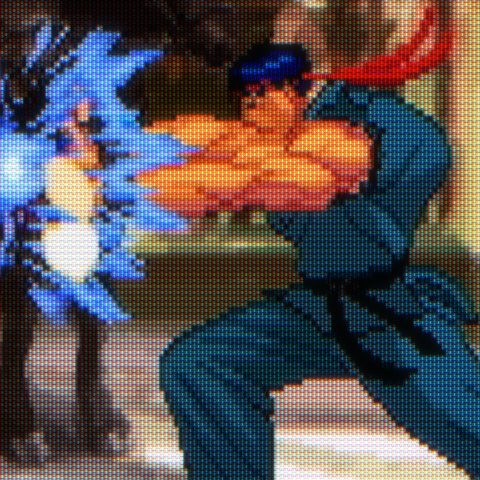
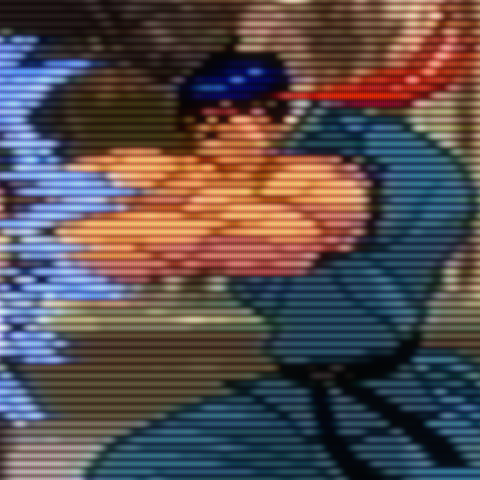
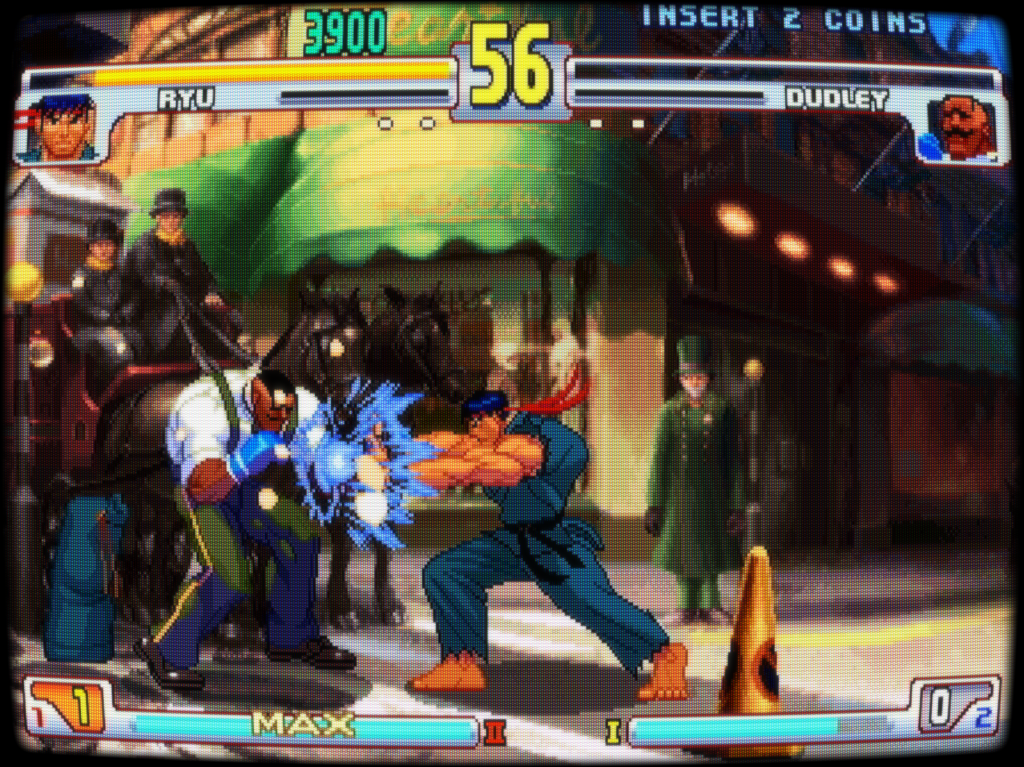
Street Fighter 3: Third Strike (Arcade)
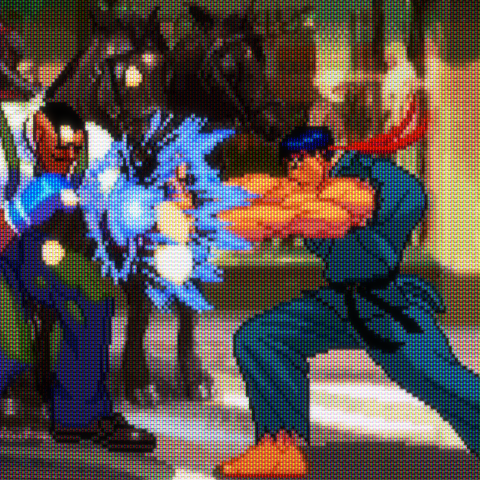
vs
1080p/03-crt-guest-advanced-ntsc-slotmask-default-rgb
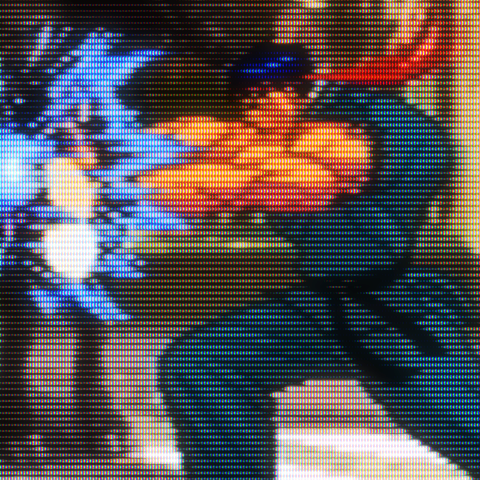
vs
1440p/02-crt-guest-advanced-ntsc-slotmask-default-s-video
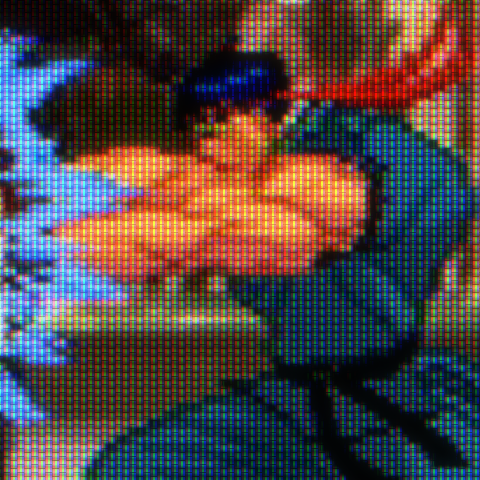
vs
4k/01-crt-guest-advanced-ntsc-slotmask-default-composite
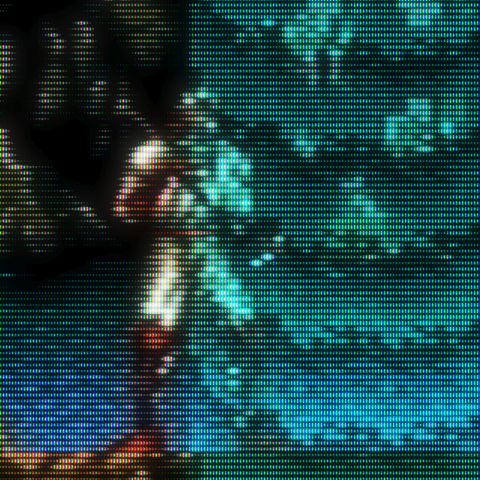
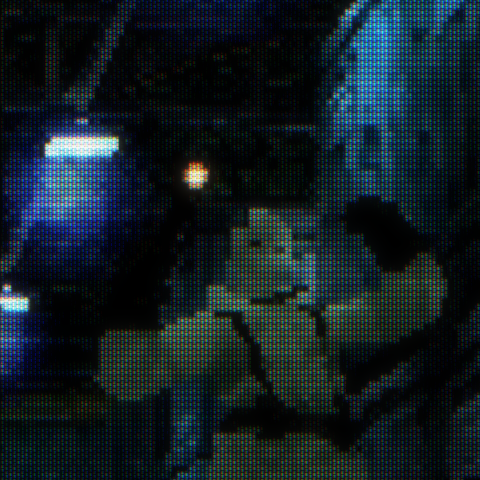
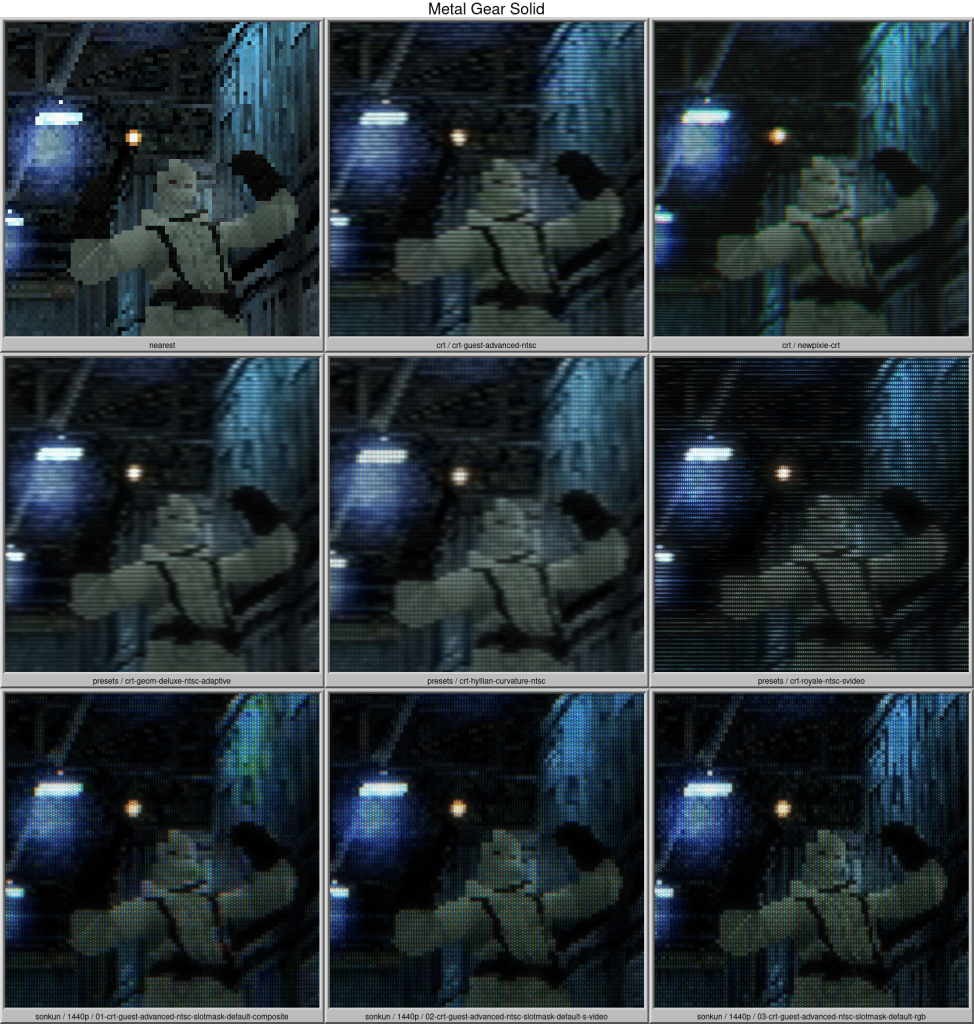
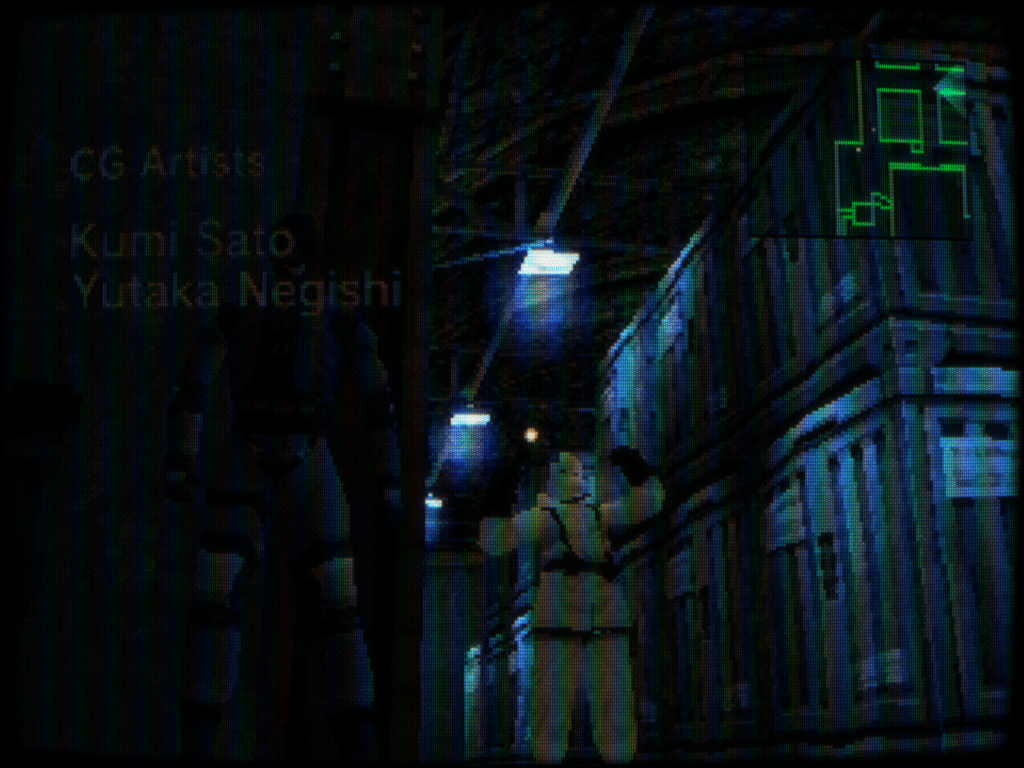
Metal Gear Solid (Playstation)
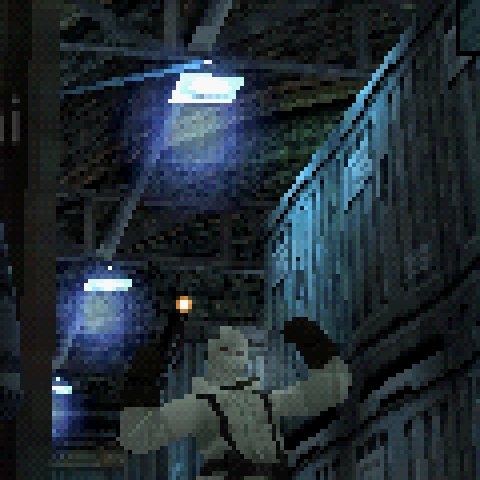
vs
1080p/03-crt-guest-advanced-ntsc-slotmask-default-rgb
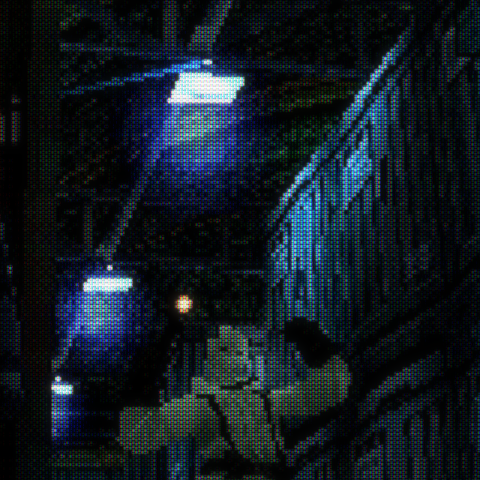
vs
1440p/02-crt-guest-advanced-ntsc-slotmask-default-s-video


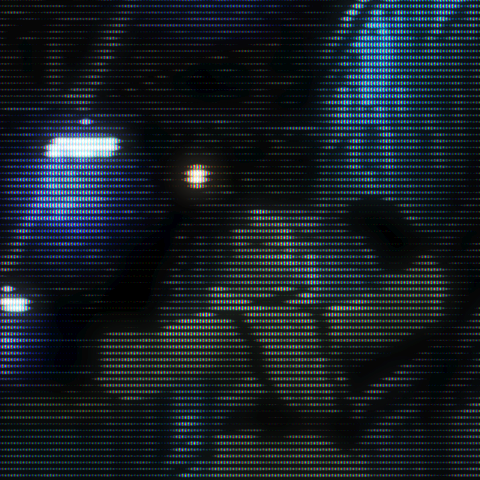
vs
4k/01-crt-guest-advanced-ntsc-slotmask-default-composite
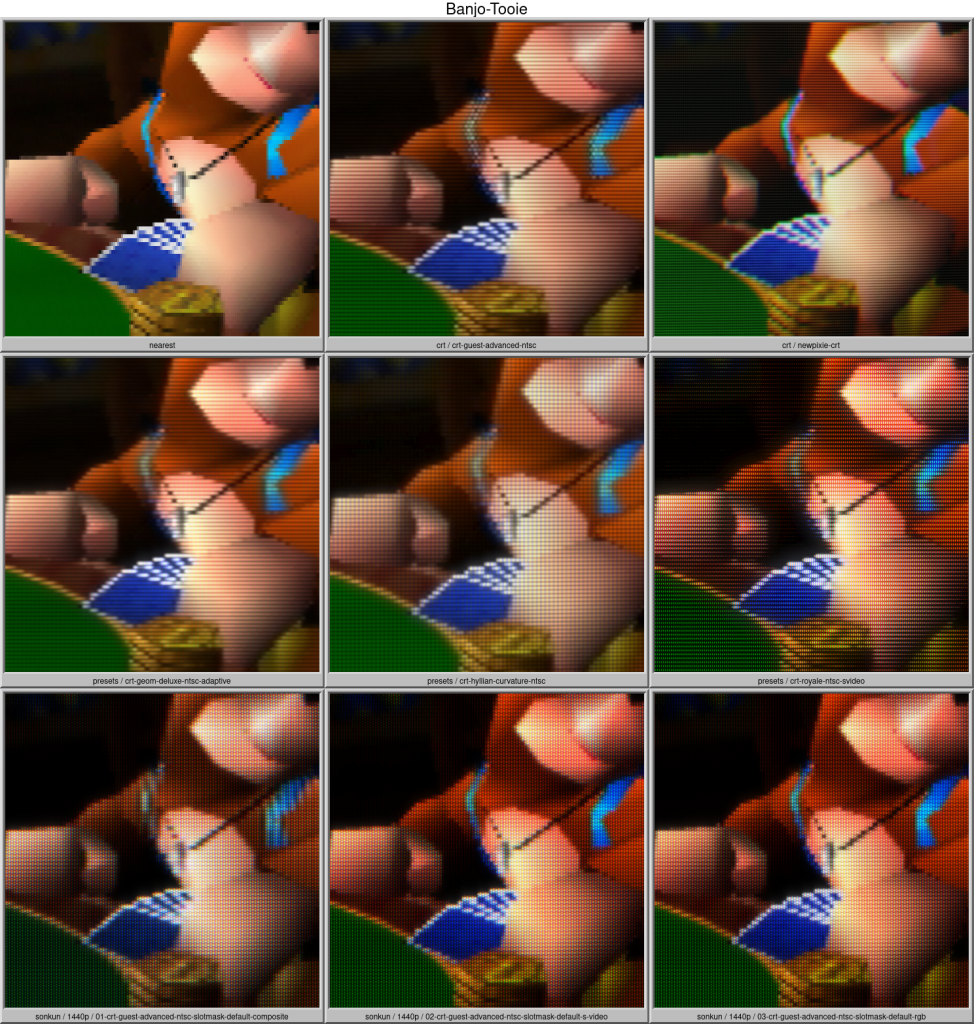
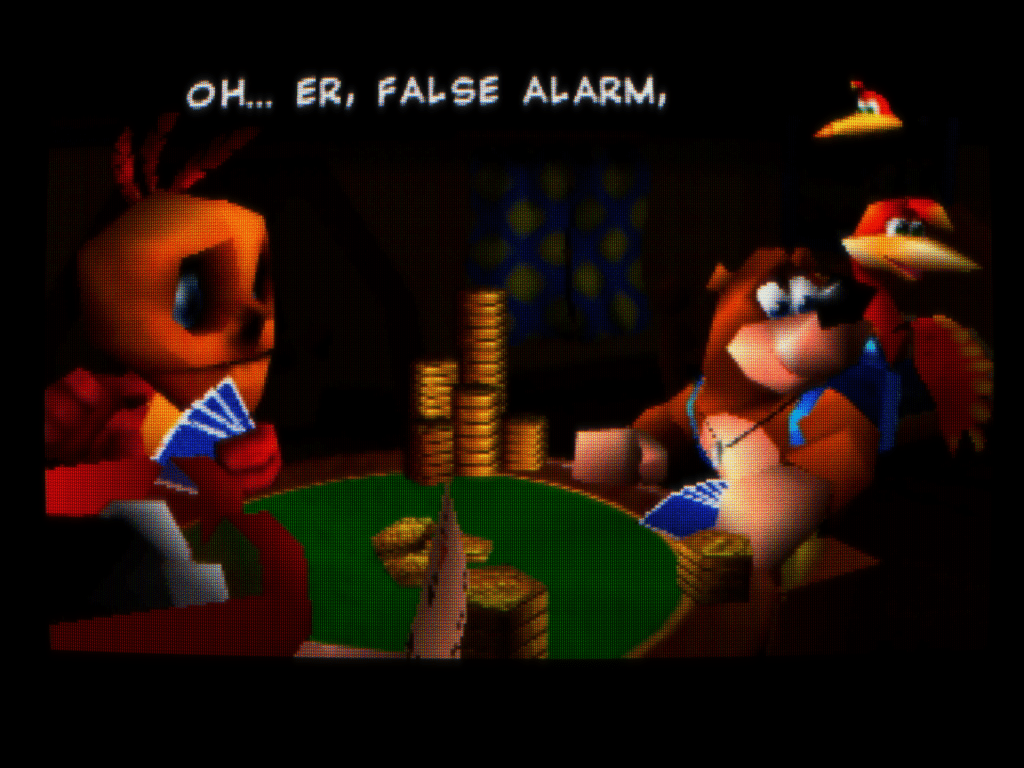
Banjo-Tooie (Nintendo 64)

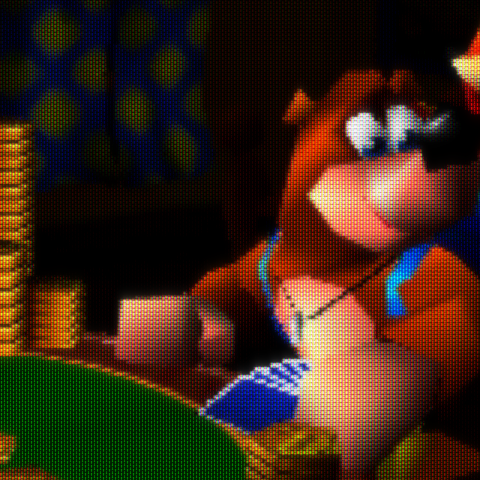
vs
1080p/03-crt-guest-advanced-ntsc-slotmask-default-rgb

vs
1440p/02-crt-guest-advanced-ntsc-slotmask-default-s-video
vs
4k/01-crt-guest-advanced-ntsc-slotmask-default-composite
Videos
Shinobi 3 (Genesis)

I have recorded a gameplay video with the default composite setup that you can watch, if you want see me struggle at stage 2 of Shinobi 3 (first time there). Have in mind, it is in 1440p, the native resolution of my monitor. It may may not look exactly the same if it is re-scaled to fit to your screen.
Conclusion
If you take anything away from this image comparison, then it should be that these images alone does not represent the entire look and feel. It shows that you should try it out on the emulator with your current RetroArch settings, because there are effects in place that come to life only in motion. It comes down to if you like the look of Slot Mask TVs or not. Because this set of presets itself does a quite good job. Not only because it is based on a well known and loved Shader, but the creator of this package made careful changes to his liking and discussed it with other users and Shader developers.
You can follow the discussion or give your own comments on the dedicated forum post. Maybe you have an issue or just want to say thank you. So head over to the official Libretro forums, create an account and take a look at Sonkun’s crt-guest-advanced-ntsc Slot Mask presets (same place where you can download the package too).
Explore alternatives
There are so many Shaders to simulate old CRT look and feel or to improve the image quality.
- Don’t forget to give a look at the original Shader that these presets are based on: New CRT shader from Guest + CRT Guest Advanced updates
- One that got a lot of attention and even made it into the official RetroArch is the HSM Mega Bezel package from user HyperspaceMadness: RetroArch – Introducing the Mega Bezel Reflection Shader. And if you want discuss it, head over to the forum: HSM Mega Bezel Reflection Shader! – Feedback and Updates.
- Also have a look at a variation of the HSM Mega Bezel package from the user Cyber: CyberLab Mega Bezel Death To Pixels Shader Preset Pack. It tweaks some stuff as an alternative variant.
- An interesting little read about the different CRT masks: Filthy Pants: A Computer Blog
- If you are relatively new to Shaders in RetroArch and all of this bubble sounds like bobble to you, then visit the official documentation at Libretro Docs: Shaders and Libretro Docs: Shader Introduction.
- And if we are at it, also give a shot at the excellent wiki about emulation stuff: Emulation General Wiki: CRT shaders
So that’s it for me today. We didn’t even got into the tweaking and settings of Shaders, which allow you to customize and adjust how you want it to look. You can find it under Shader Parameters. Experiment with the settings, as they are not saved at default, unless you explicitly save it. But that is a story for another time. Have a good day all!

1 Comment