

I recently started playing around with the shader in RetroArch on PC and I’m blown away. In this post I want to show off a few comparison shots using SNES emulation.
This file is licensed under the Creative Commons Attribution 3.0 Unported license
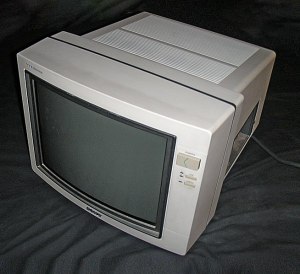
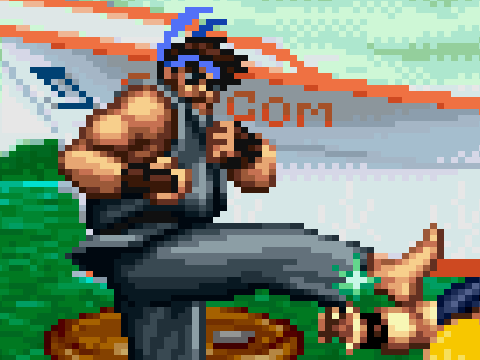
Emulating console games will normally result in sharp and clean images, as they are output from the system directly. This is pretty pixel accurate on a modern LCD machine with digital cable connection. In other words “too perfect”. The display and connection from the past works differently than our today’s advanced technology.
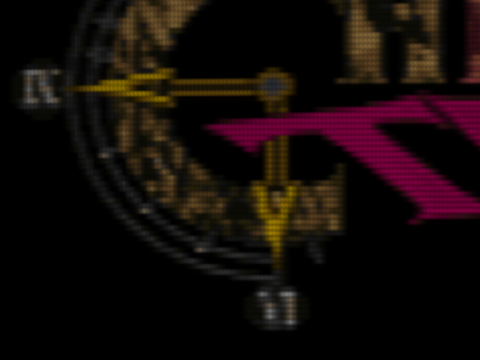
crop from shader
crt_royale
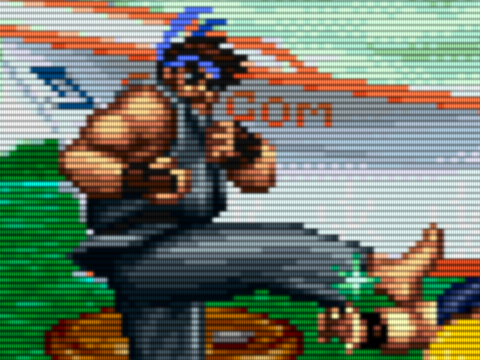
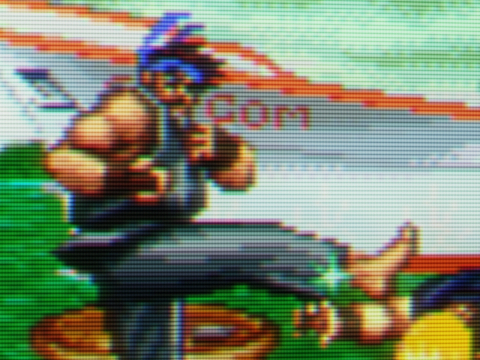
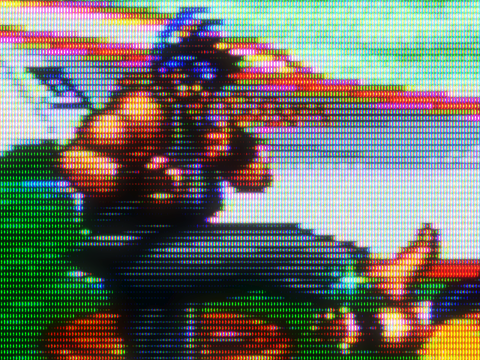
This is where the shader from RetroArch come into play; special instructions to process the image for filter purposes. A common use case is to replicate the look and feel from old CRT tvs or monitors, by degrading the image quality to represent specific characteristics. Game graphics from that era are often designed with scanlines in mind and are displayed on curved tvs. Shader can also be used to “enhance” the overall image quality, in example to give it a painted look.
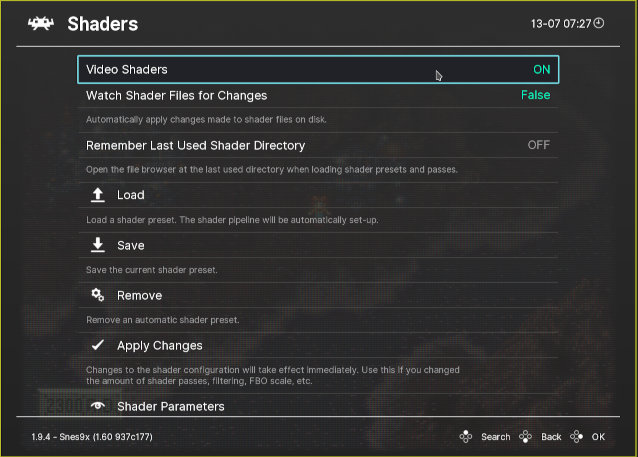
My setup includes integer scaling and a preferred format of 4:3 set in Snes9x. This leads to an image size of 1794 x 1344 pixel (6 times the original) from the emulator, to fit on my screen resolution at 2560 x 1440 pixel. No bilinear filtering is in use. Also it is important to note, that some of the shader may receive updates in the future, which would render these comparisons inaccurate.
What I did not test:
- no configuration tweaking: only default settings from RetroArch are used
- no performance test: some are slow and may require a modern pc, others are very fast and optimized for low power devices
- no motion test: some shader properties such as flicker or motionblur are not optimally pictured in still images
- no other resolution test: some shader require high resolution to look great, others are designed for low resolution in mind too
- no combination test: some shader are designed to be combined with others in mind and don’t look good on their own
- no other systems tested: different systems like vertical arcade or monochrome vector games may require special treatement
Side by side
RIGHT: crt/crt-royale.slangp
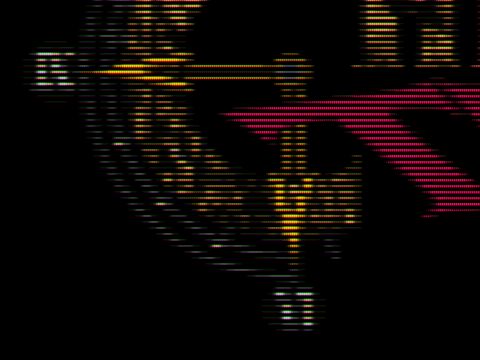
RIGHT: crt/crt-easymode-halation.slangp
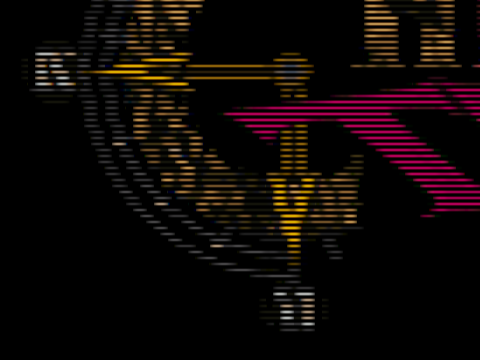
RIGHT: crt/crt-yo6-KV-M1420B.slangp
RIGHT: presets/crt-guest-dr-venom-maxDR.slangp

RIGHT: presets/scalefx-aa-fast.slangp


RIGHT: presets/scalefx+rAA+aa.slangp
RIGHT: crt/crt_zfast-crt.slangp
RIGHT: presets/crt-royale-pal-r57shell.slangp
RIGHT: crt/crt-royale.slangp
Full sized
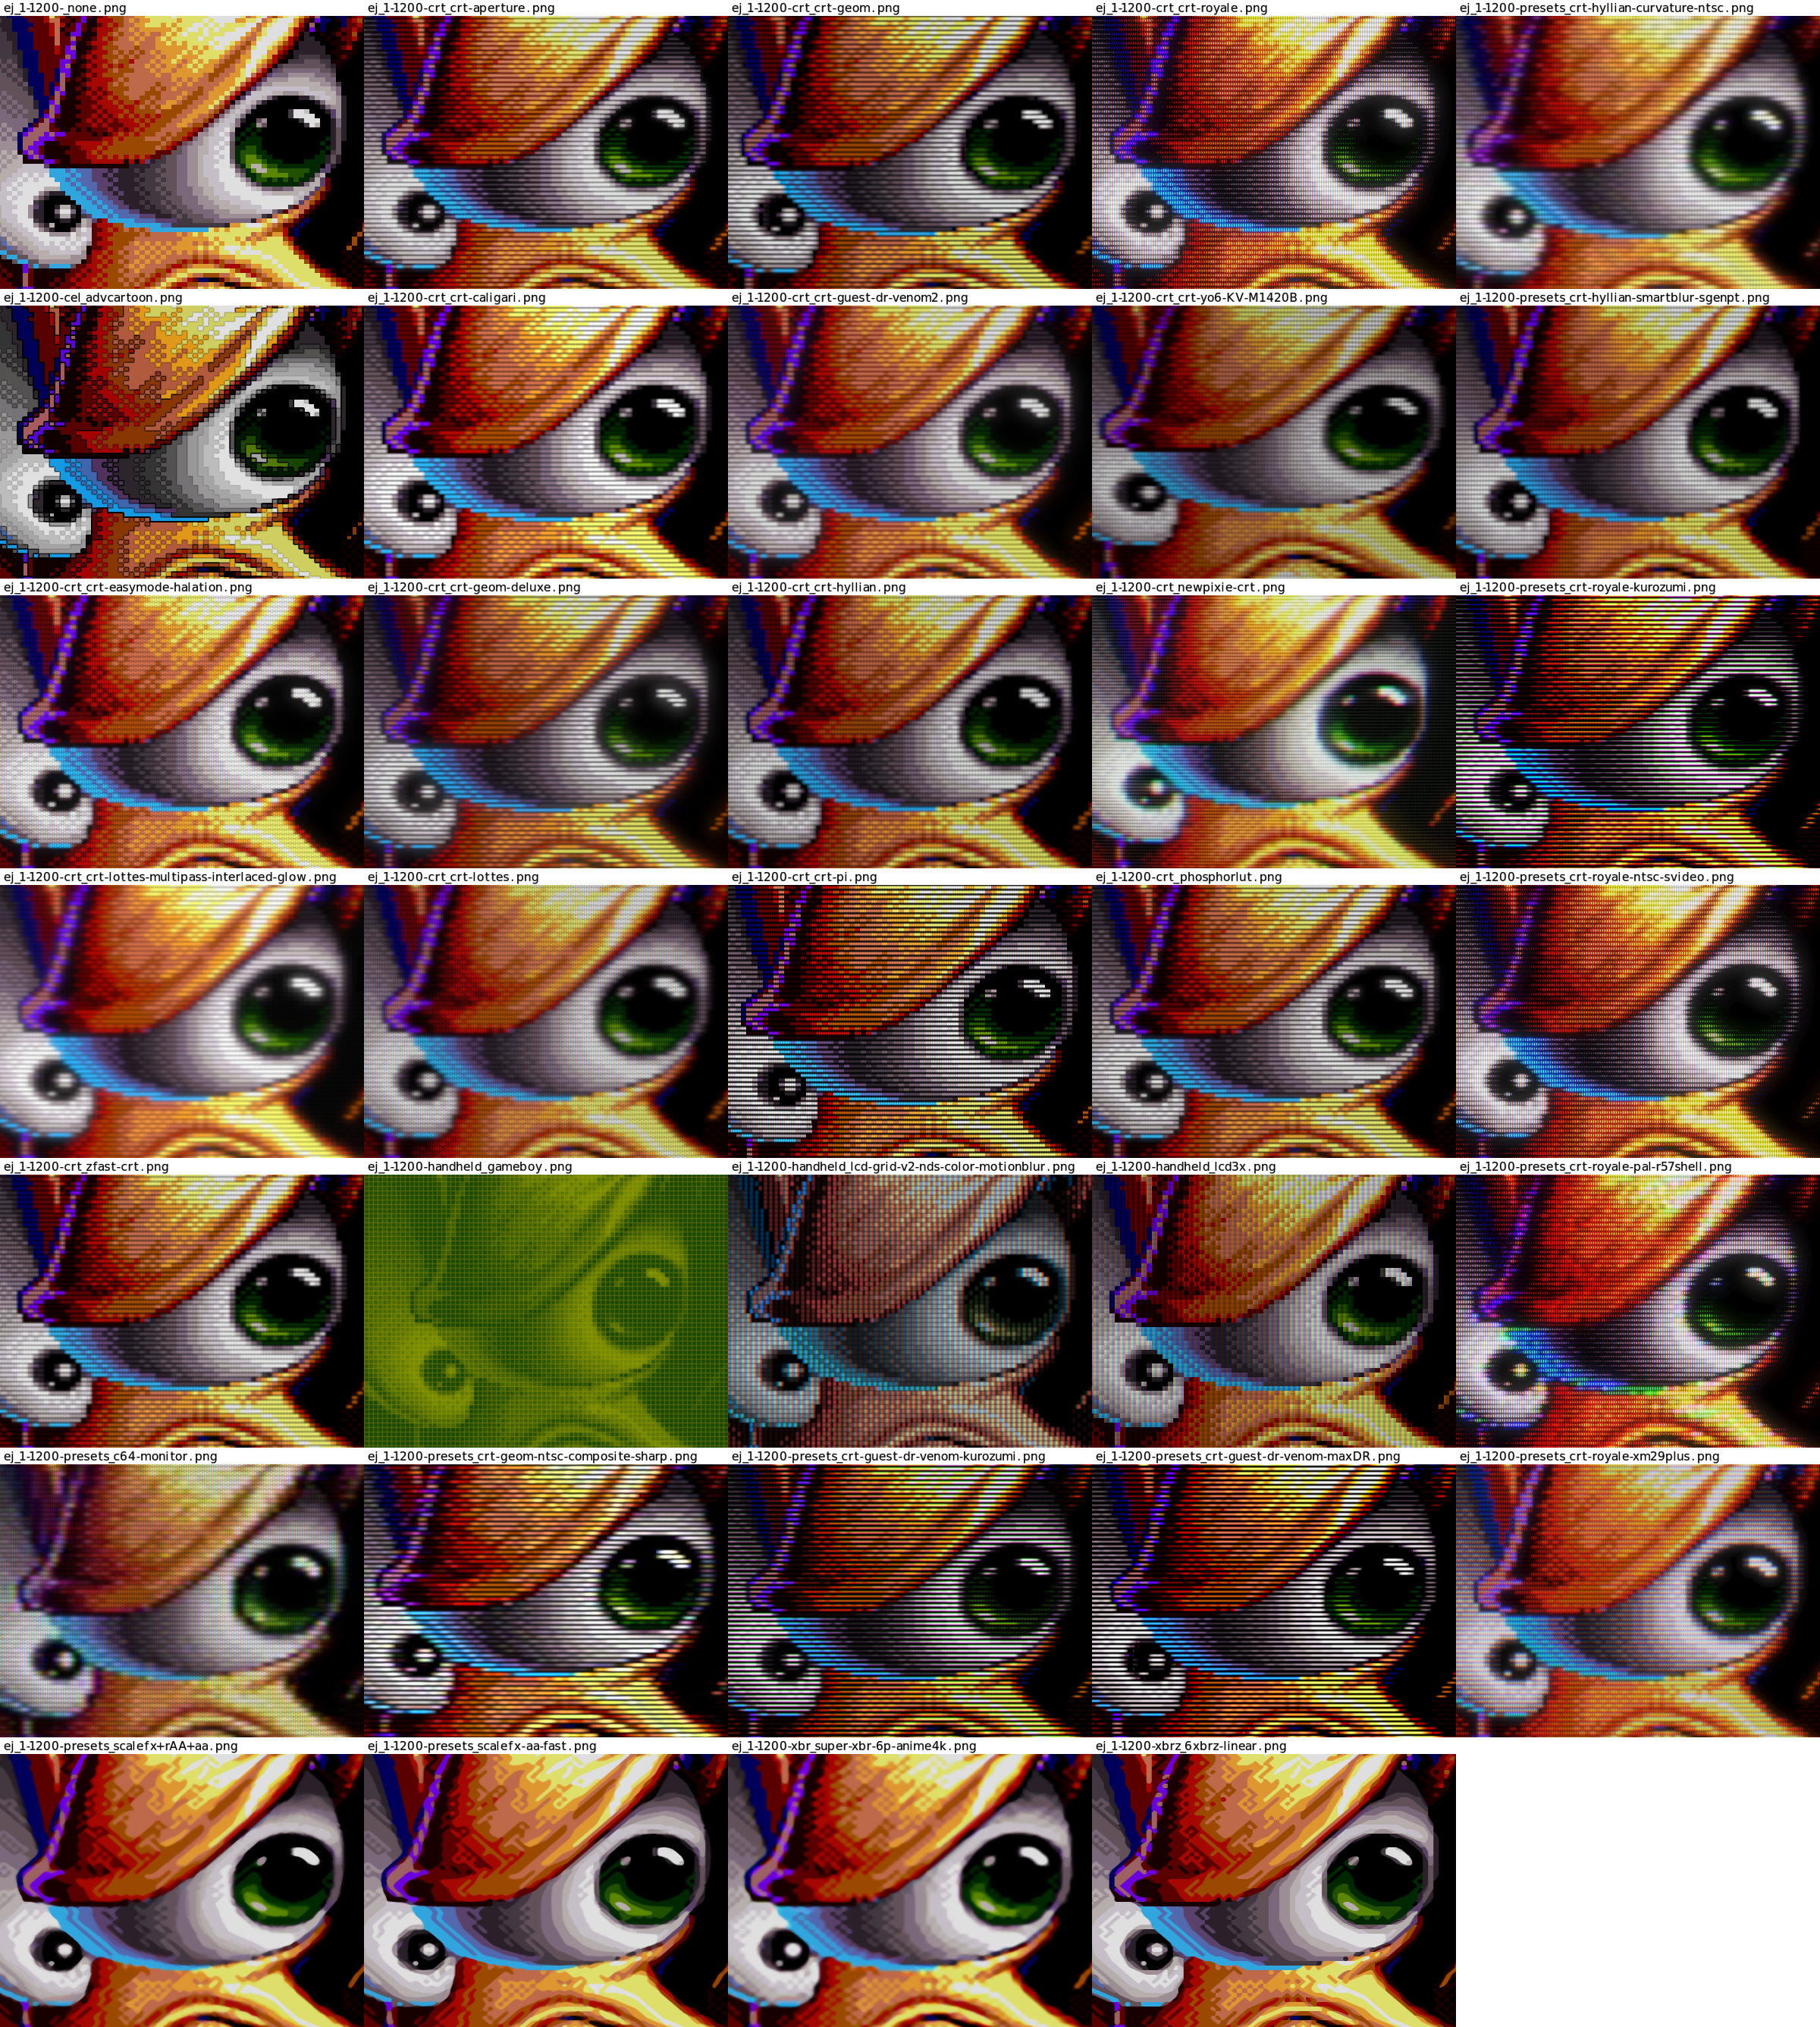
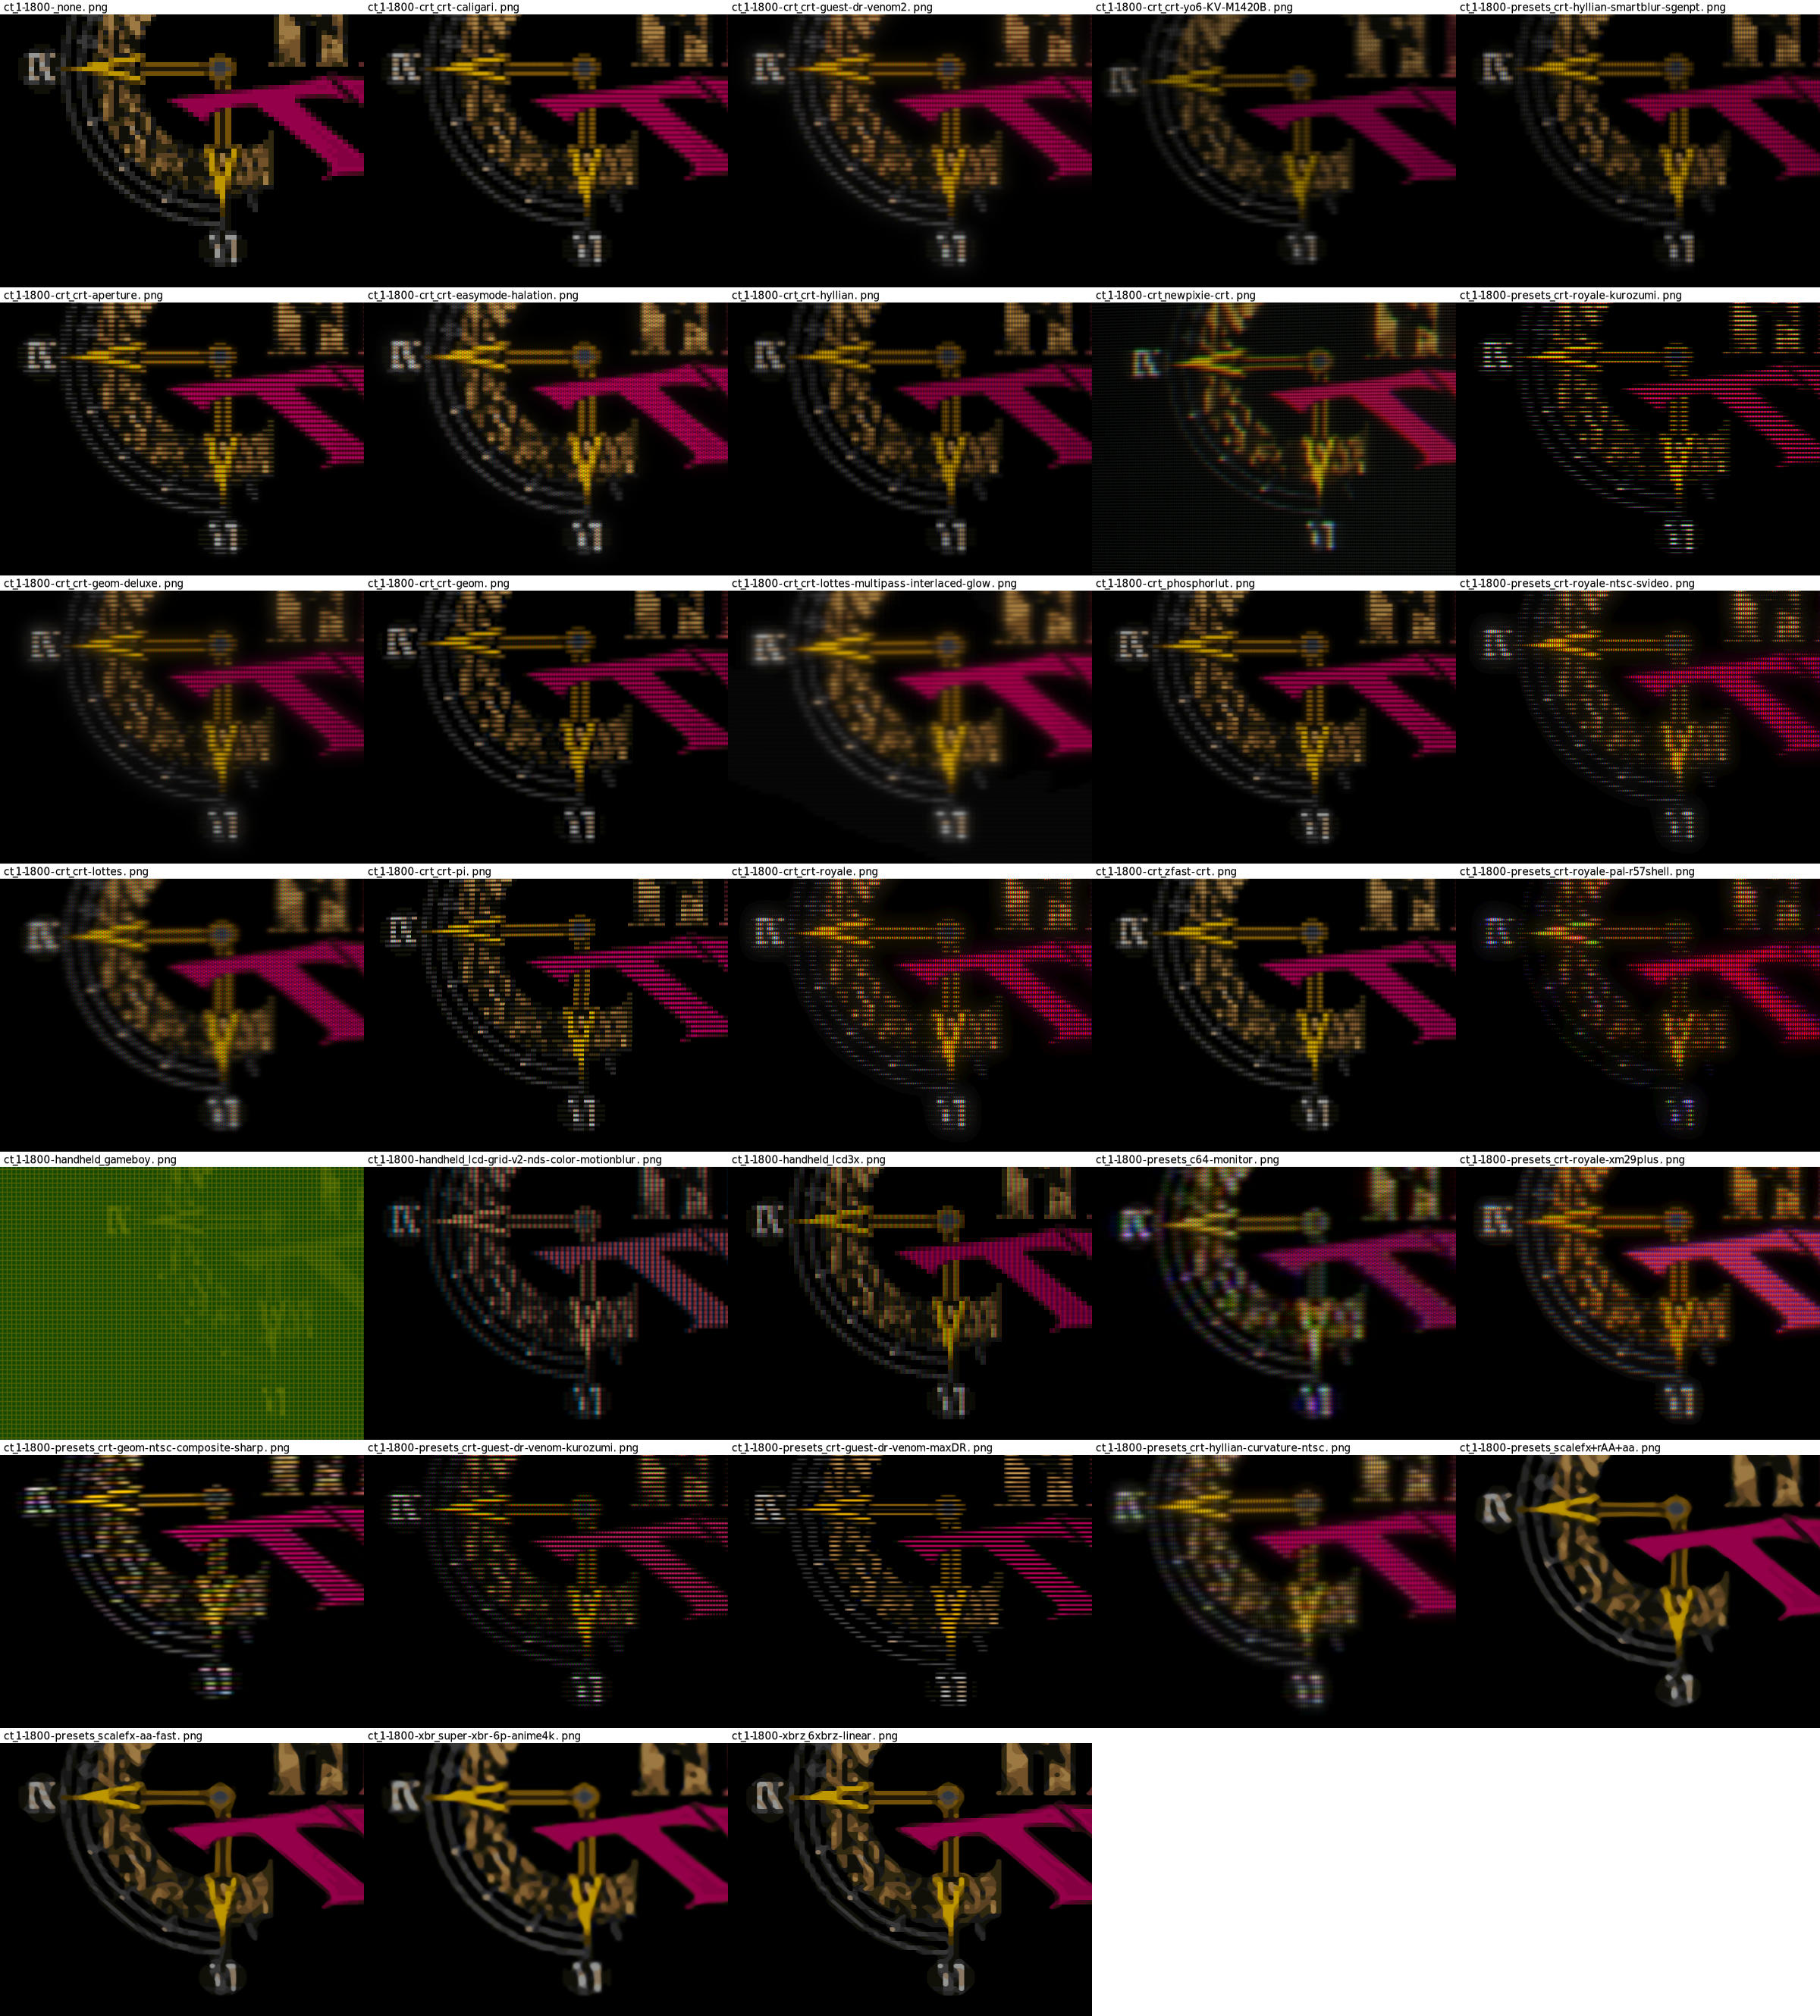
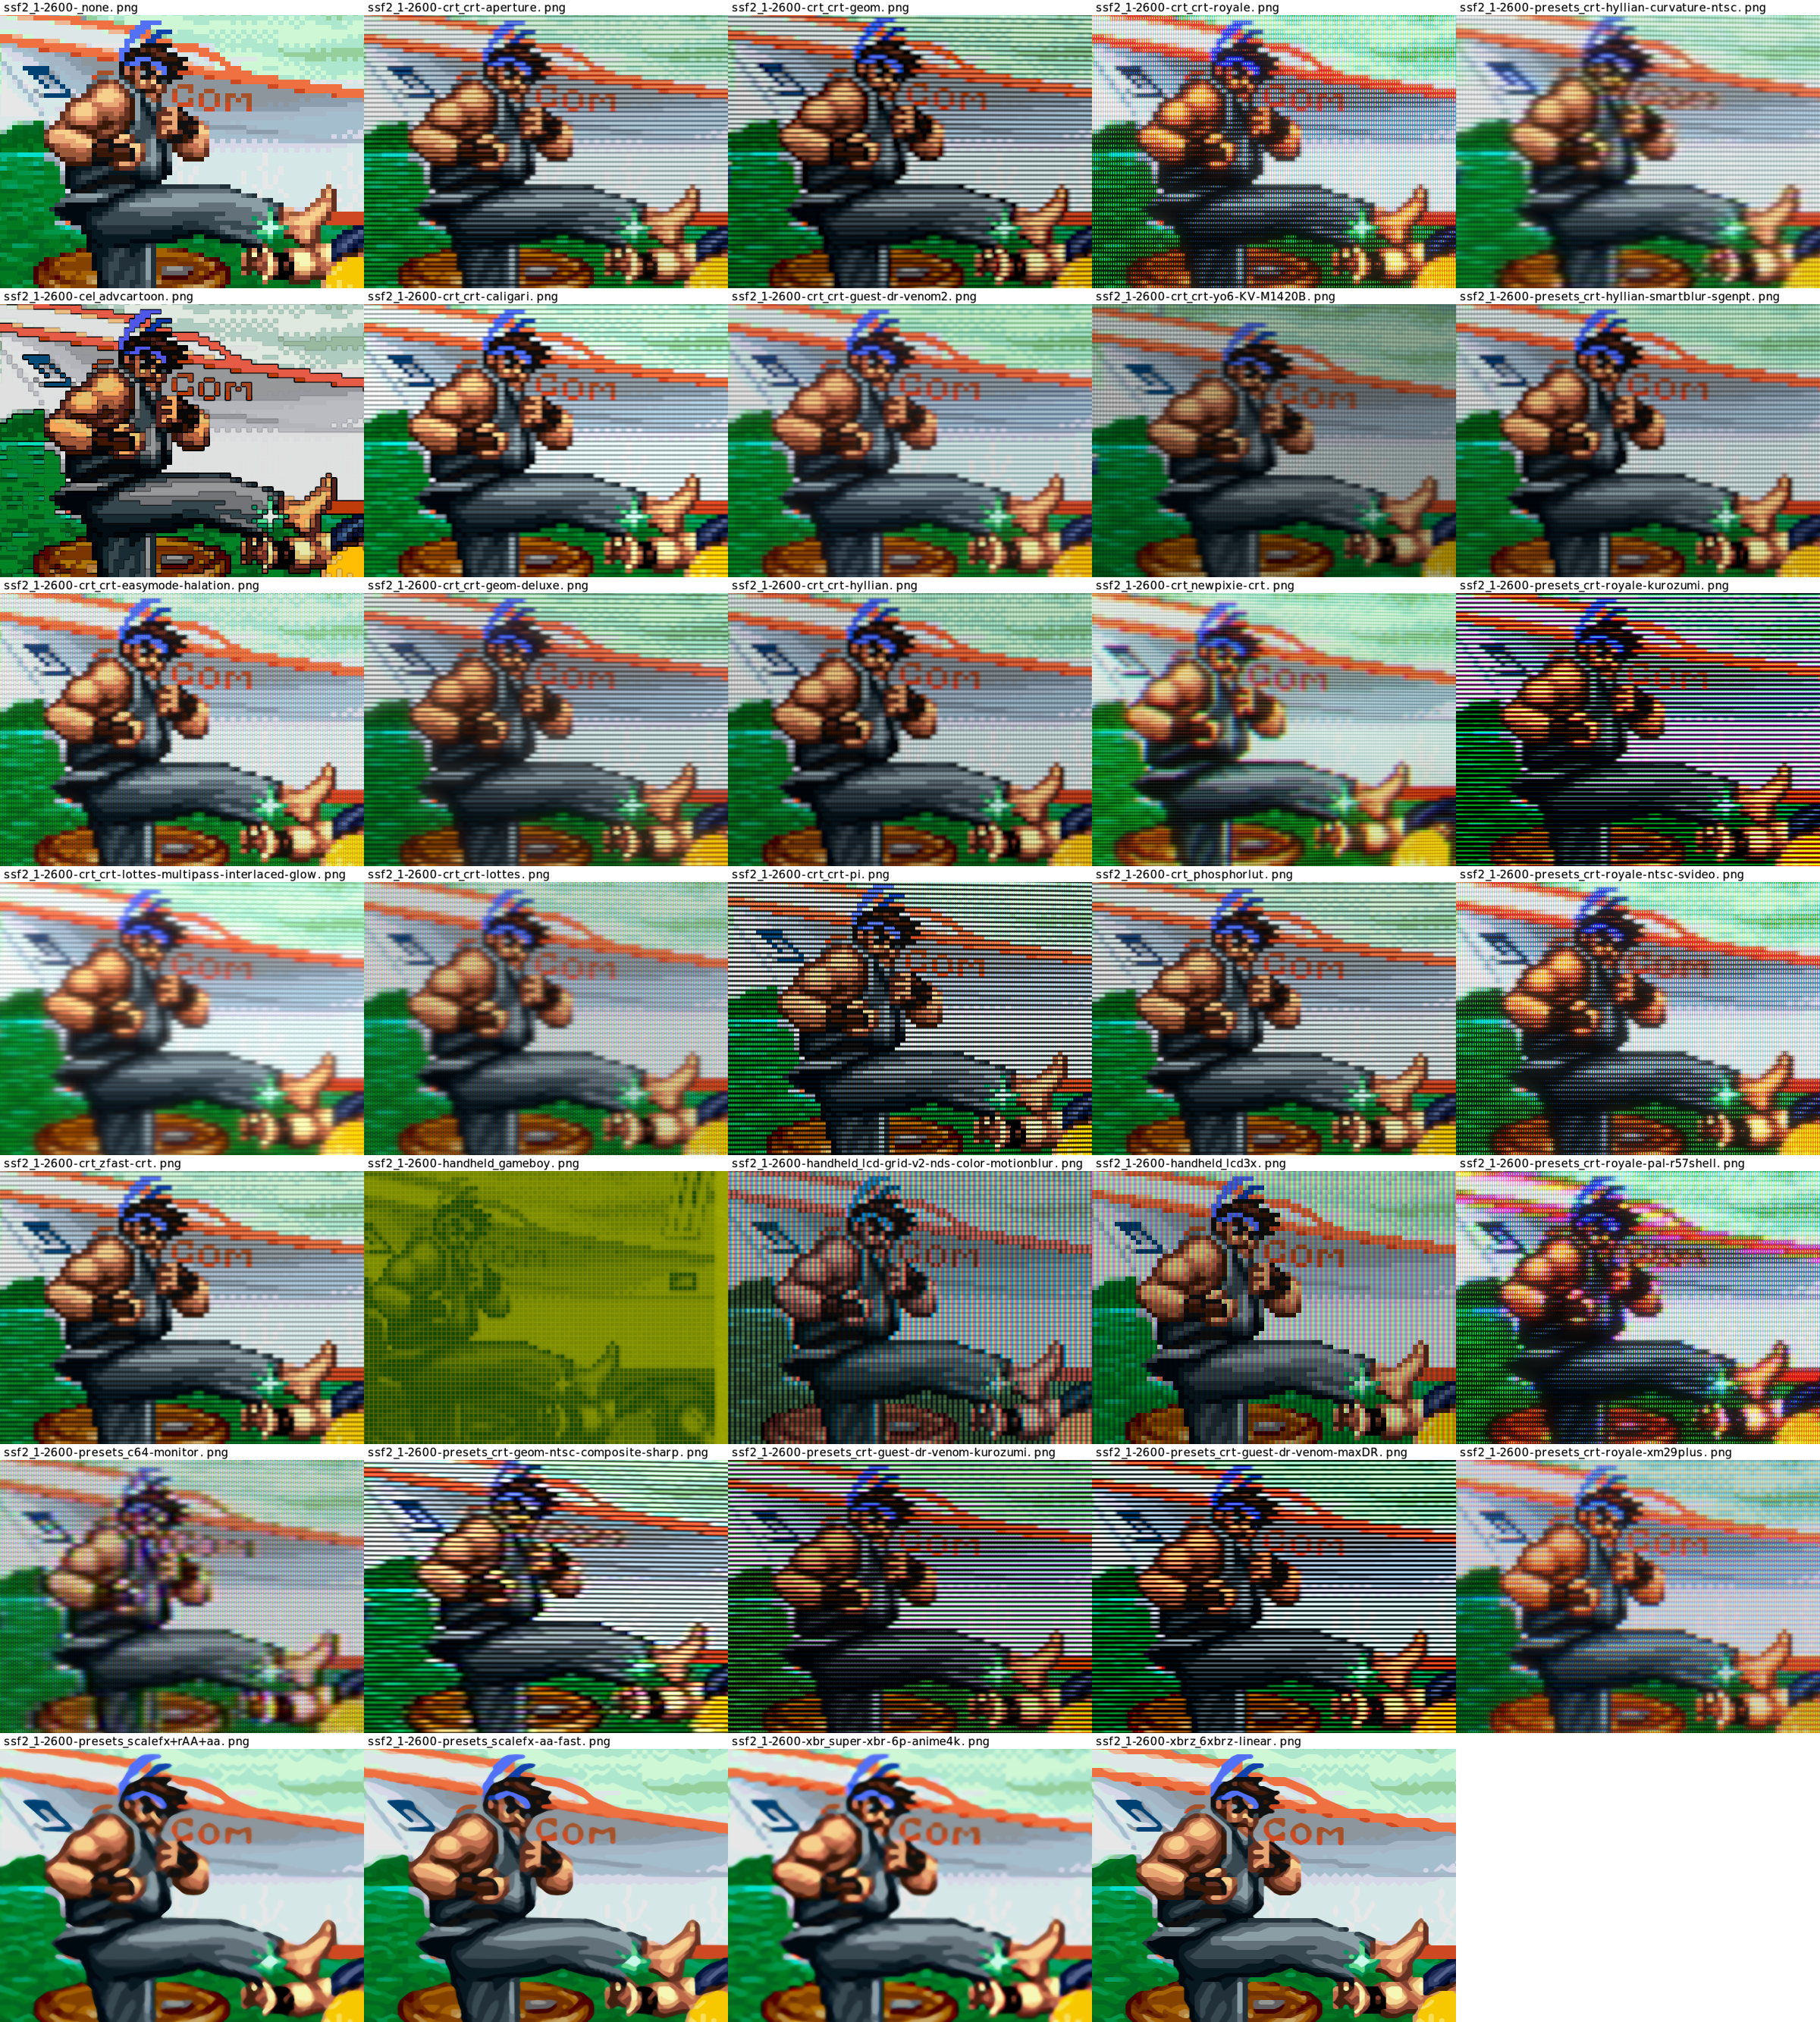
33 shader in one image
A compact image showing off 33 shaders with a cropped screenshot per game. It is best to download and view in 100% view mode of your image viewer.
List of tested shader:
- none
- crt/crt-aperture.slangp
- crt/crt-easymode-halation.slangp
- crt/crt-caligari.slangp
- crt/crt-geom.slangp
- crt/crt-geom-deluxe.slangp
- crt/crt-hyllian.slangp
- crt/crt-lottes.slangp
- crt/crt-lottes-multipass-interlaced-glow.slangp
- crt/crt-pi.slangp
- crt/crt-royale.slangp
- crt/crt-guest-dr-venom2.slangp
- crt/zfast-crt.slangp
- crt/crt-yo6-KV-M1420B.slangp
- crt/newpixie-crt.slangp
- crt/phosphorlut.slangp
- xbrz/6xbrz-linear.slangp
- xbr/super-xbr-6p-anime4k.slangp
- cel/advcartoon.slangp
- handheld/lcd3x.slangp
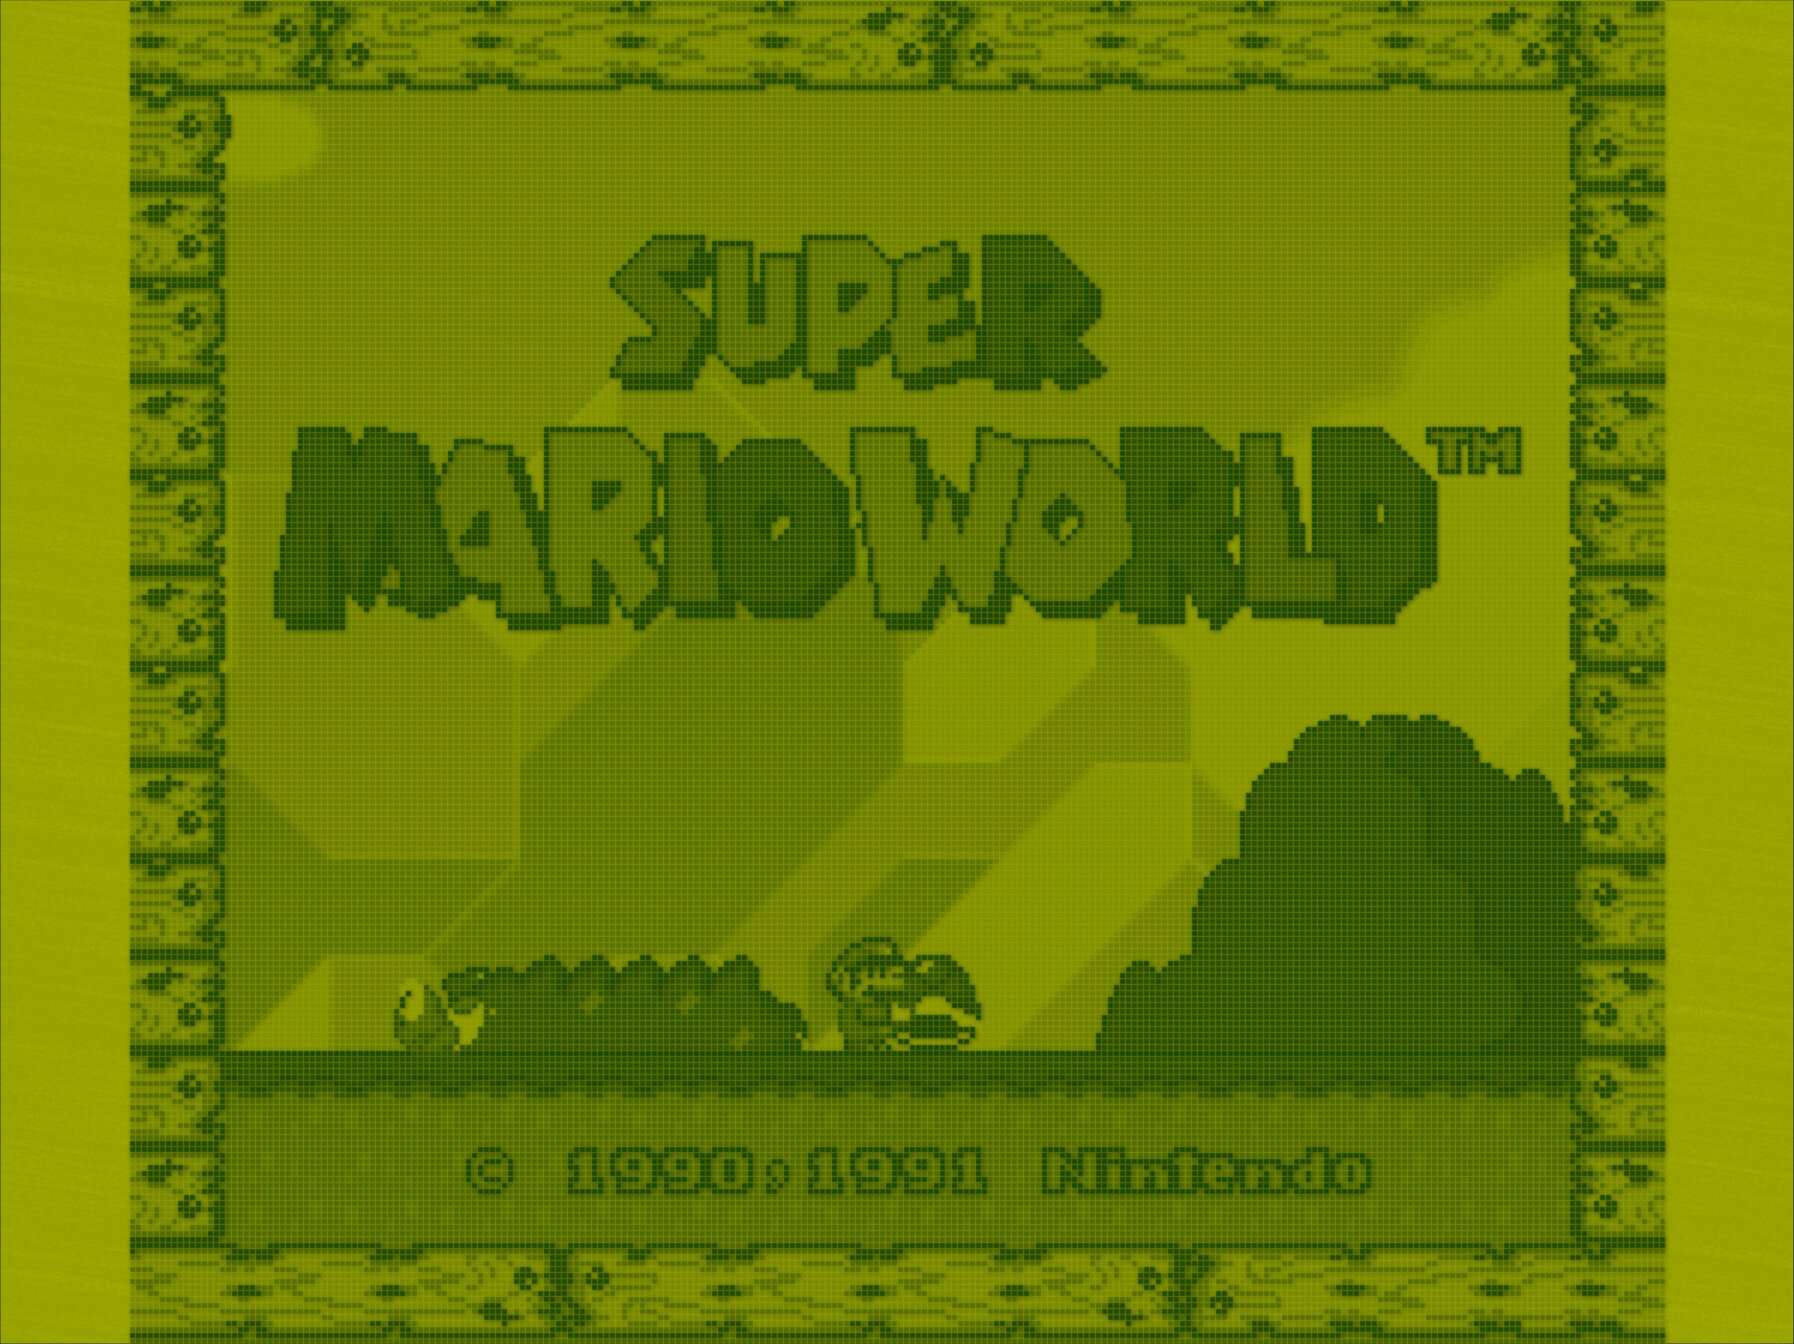
- handheld/gameboy.slangp
- handheld/lcd-grid-v2-nds-color-motionblur.slangp
- presets/c64-monitor.slangp
- presets/crt-geom-ntsc-composite-sharp.slangp
- presets/crt-royale-ntsc-svideo.slangp
- presets/crt-royale-kurozumi.slangp
- presets/crt-royale-pal-r57shell.slangp
- presets/crt-royale-xm29plus.slangp
- presets/crt-guest-dr-venom-kurozumi.slangp
- presets/crt-guest-dr-venom-maxDR.slangp
- presets/crt-hyllian-smartblur-sgenpt.slangp
- presets/crt-hyllian-curvature-ntsc.slangp
- presets/scalefx-aa-fast.slangp
- presets/scalefx+rAA+aa.slangp
I recommend you to download and inspect the image in 100% view. The files are between 4 and 9 MB big in size. The name of the shader is displayed above each cropped image. So if the filename of the crop is “ssf2_1-2600-crt_crt-pi.png”, then the part “crt_crt-pi” tells us it is found in sub directory “crt” and the file is named “crt-pi.slangp.

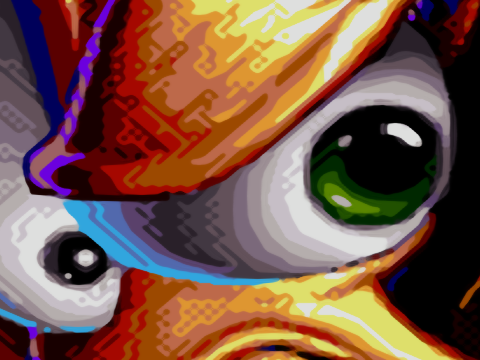
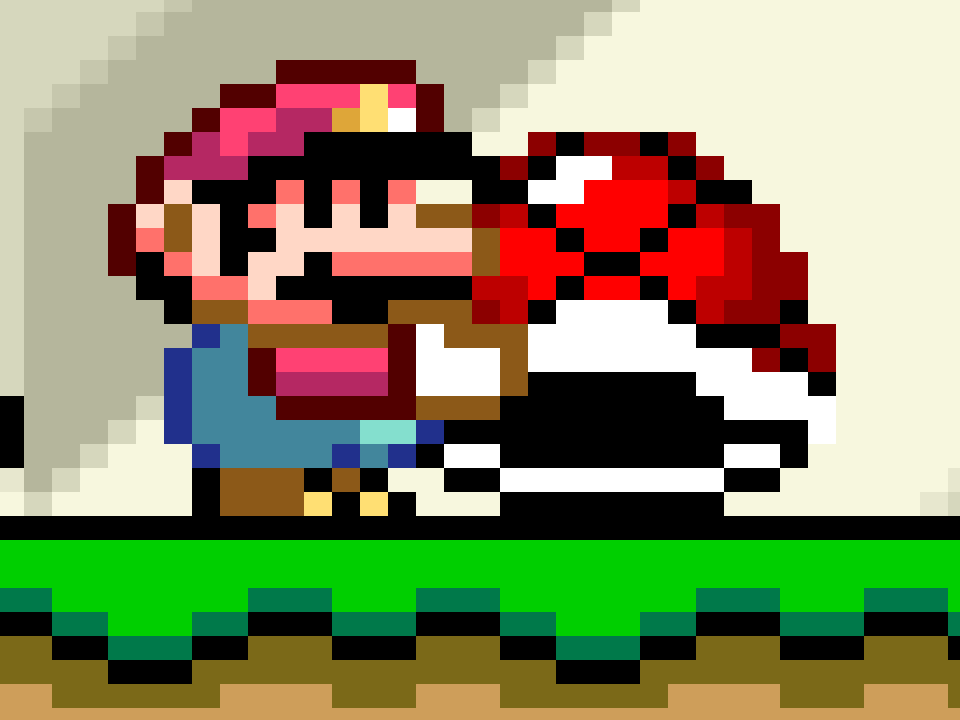
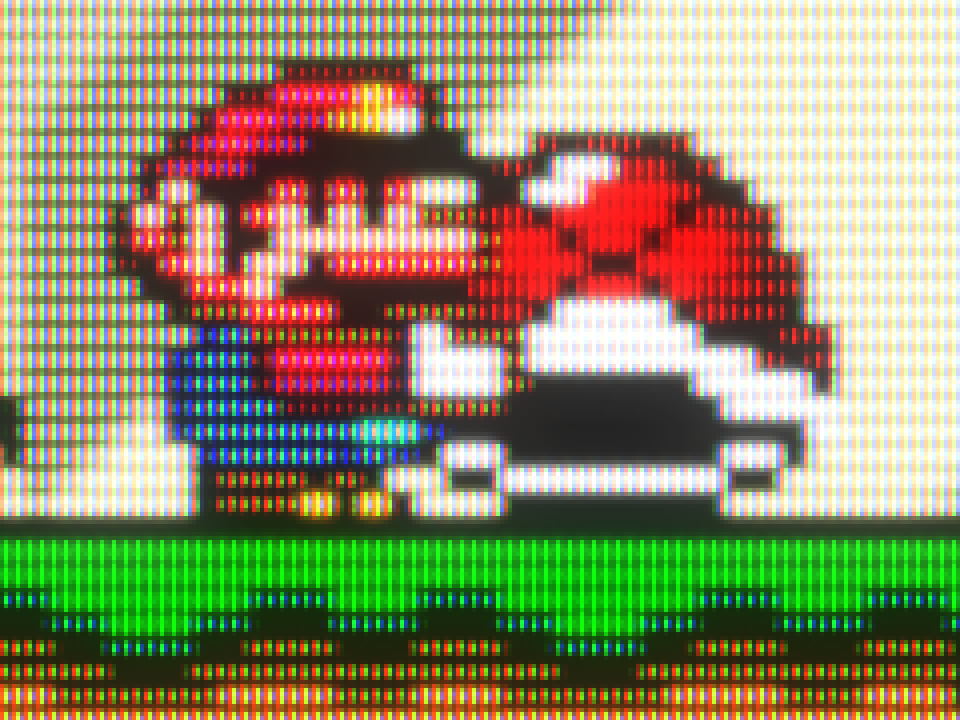
Crop of Mario holding a Koopa shell
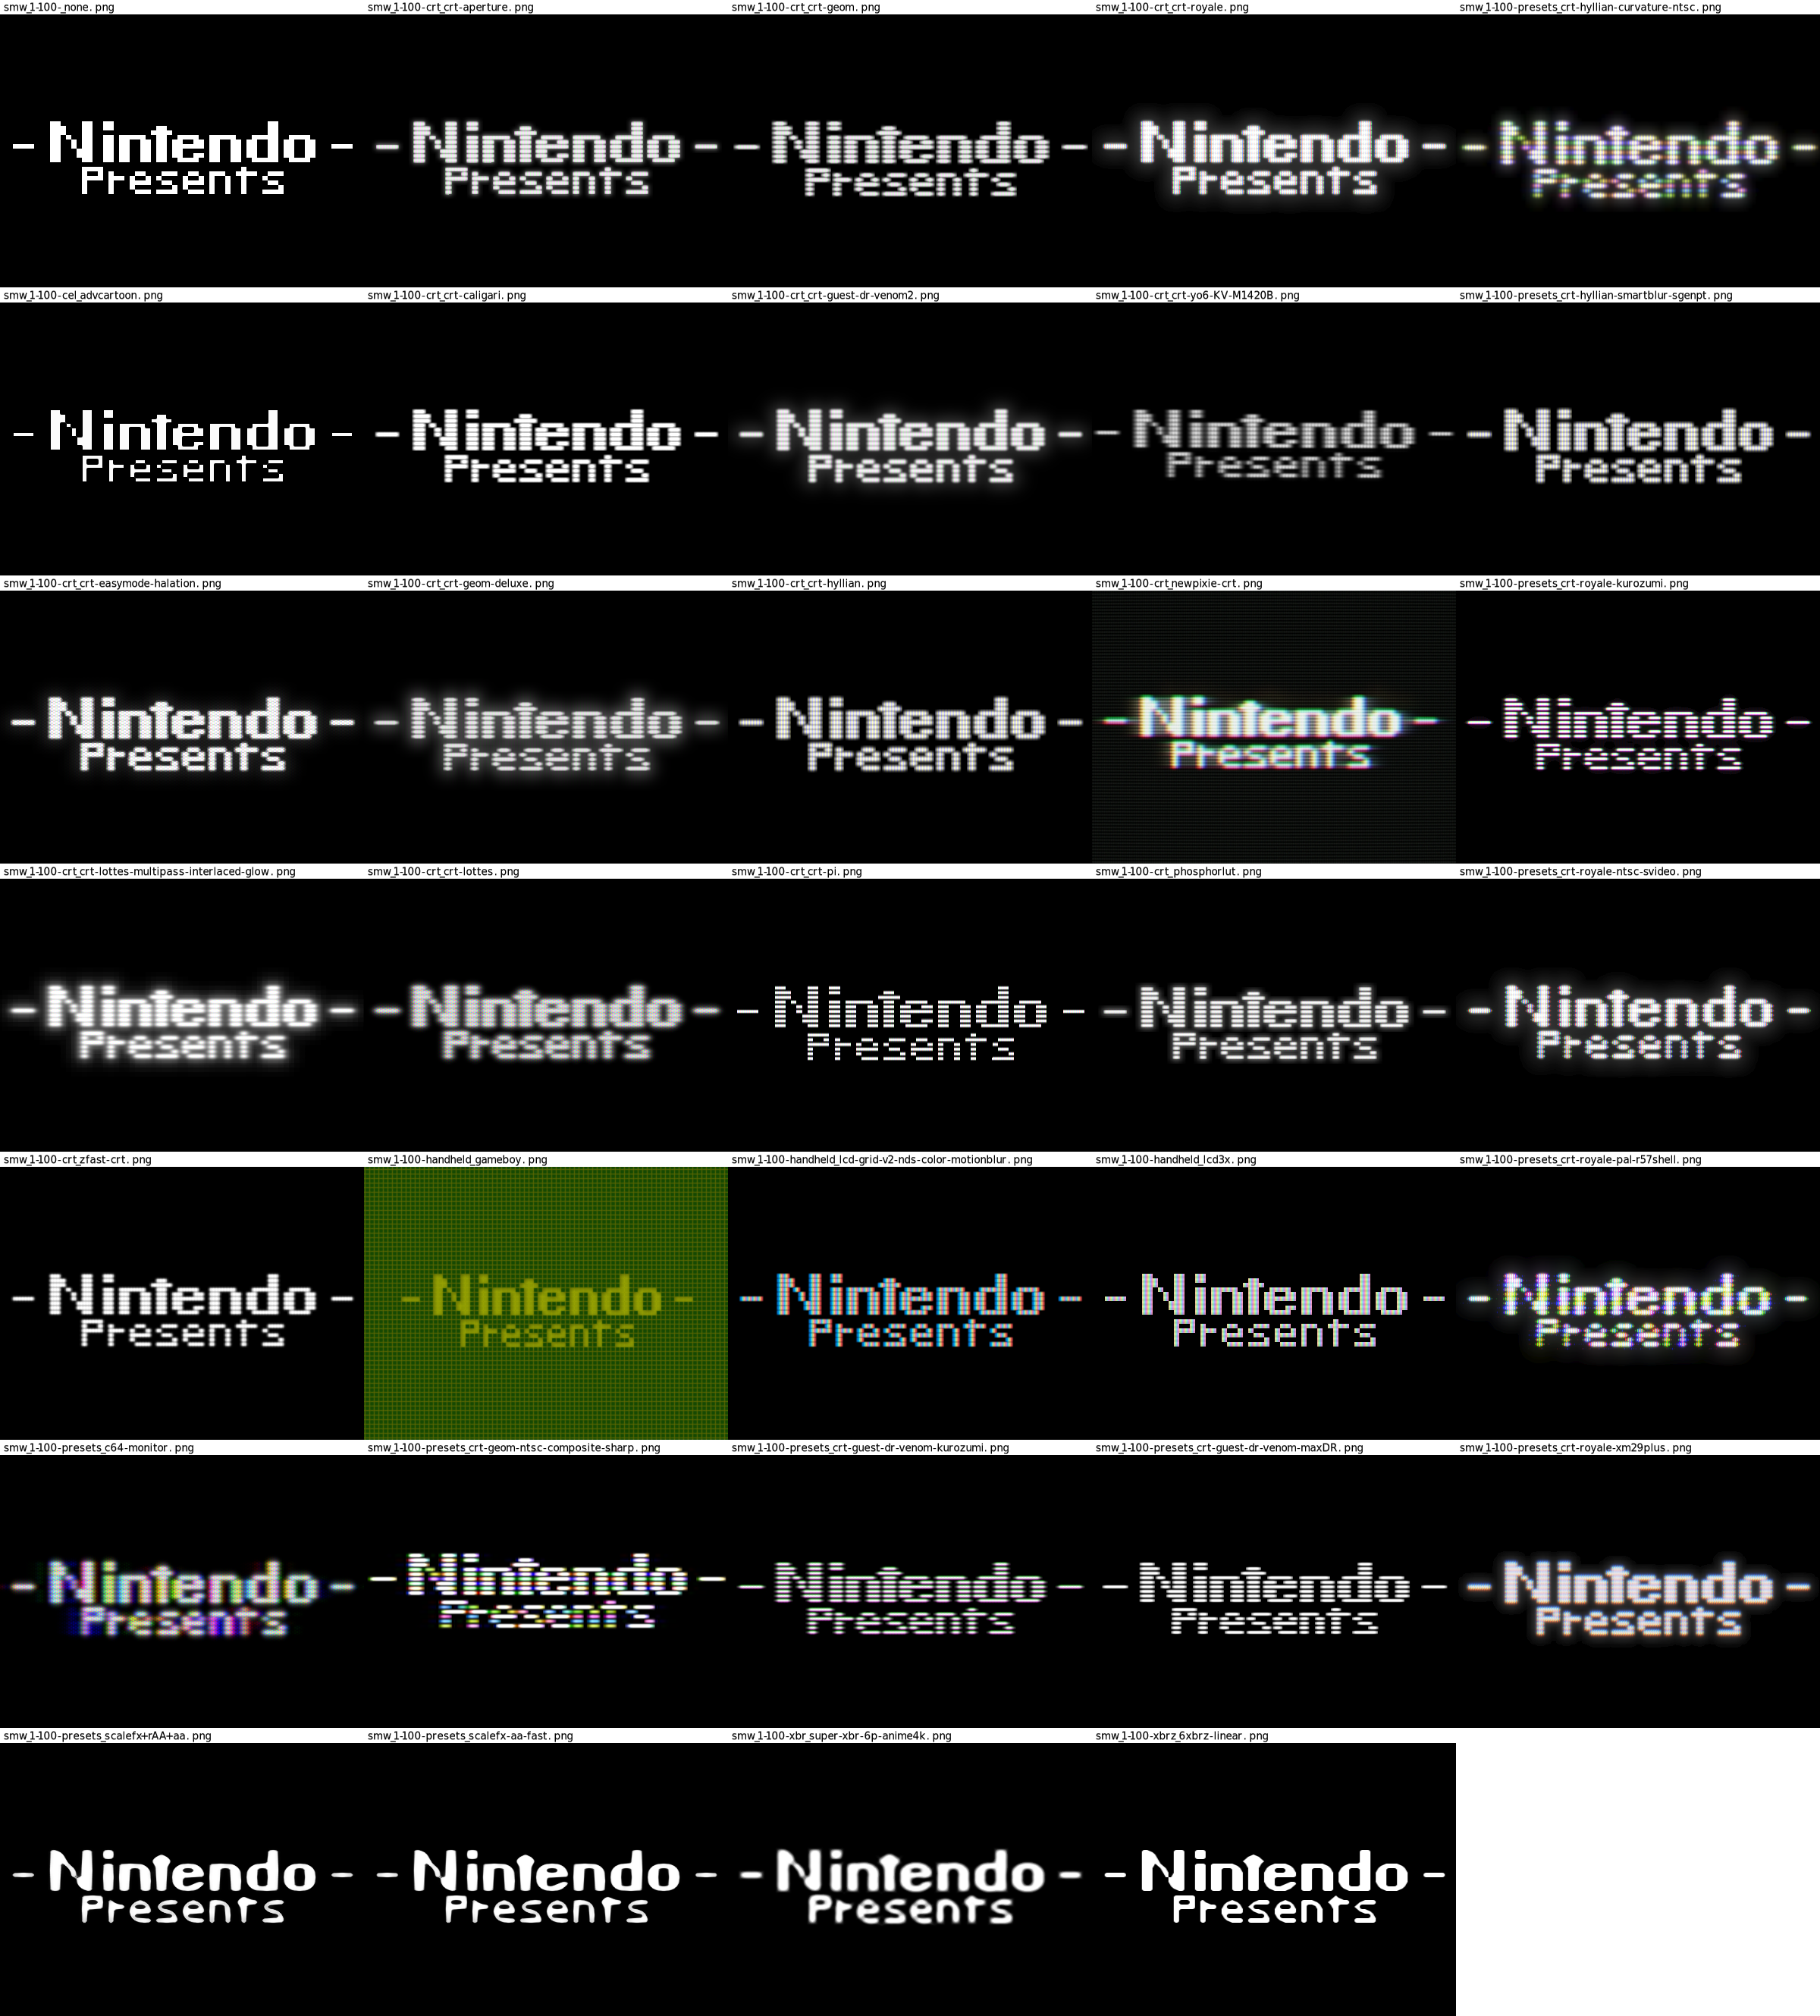
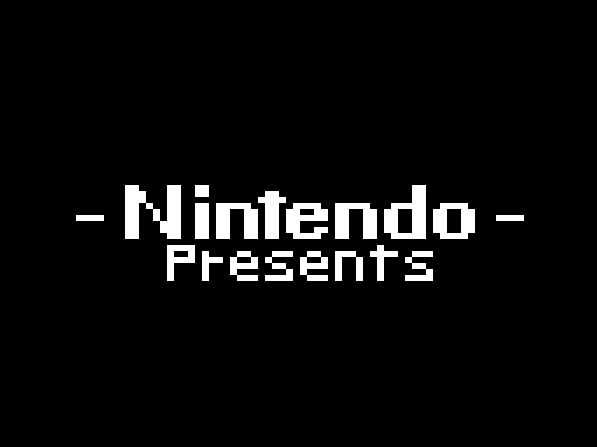
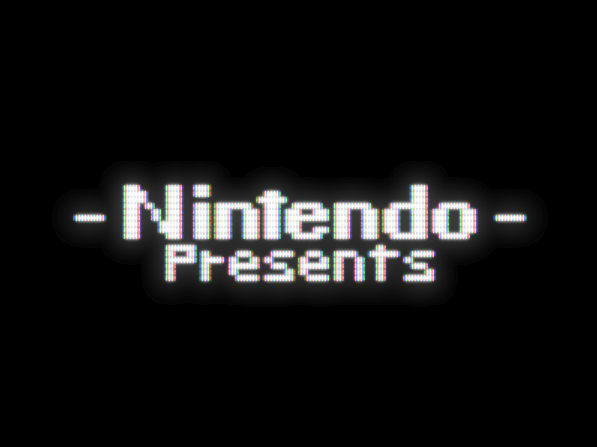
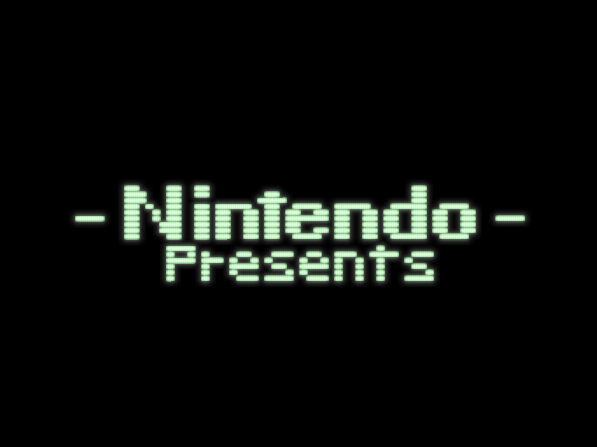
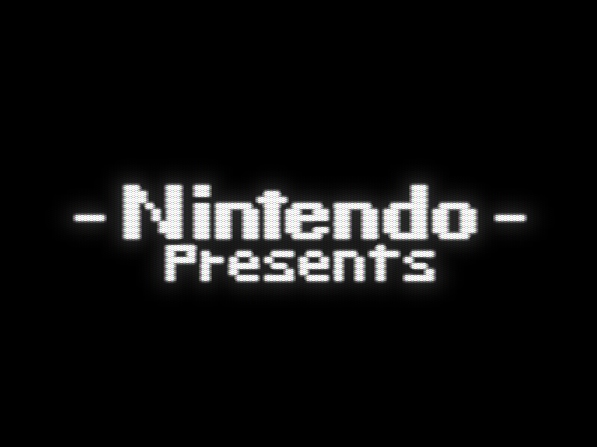
Nintendo starting logo

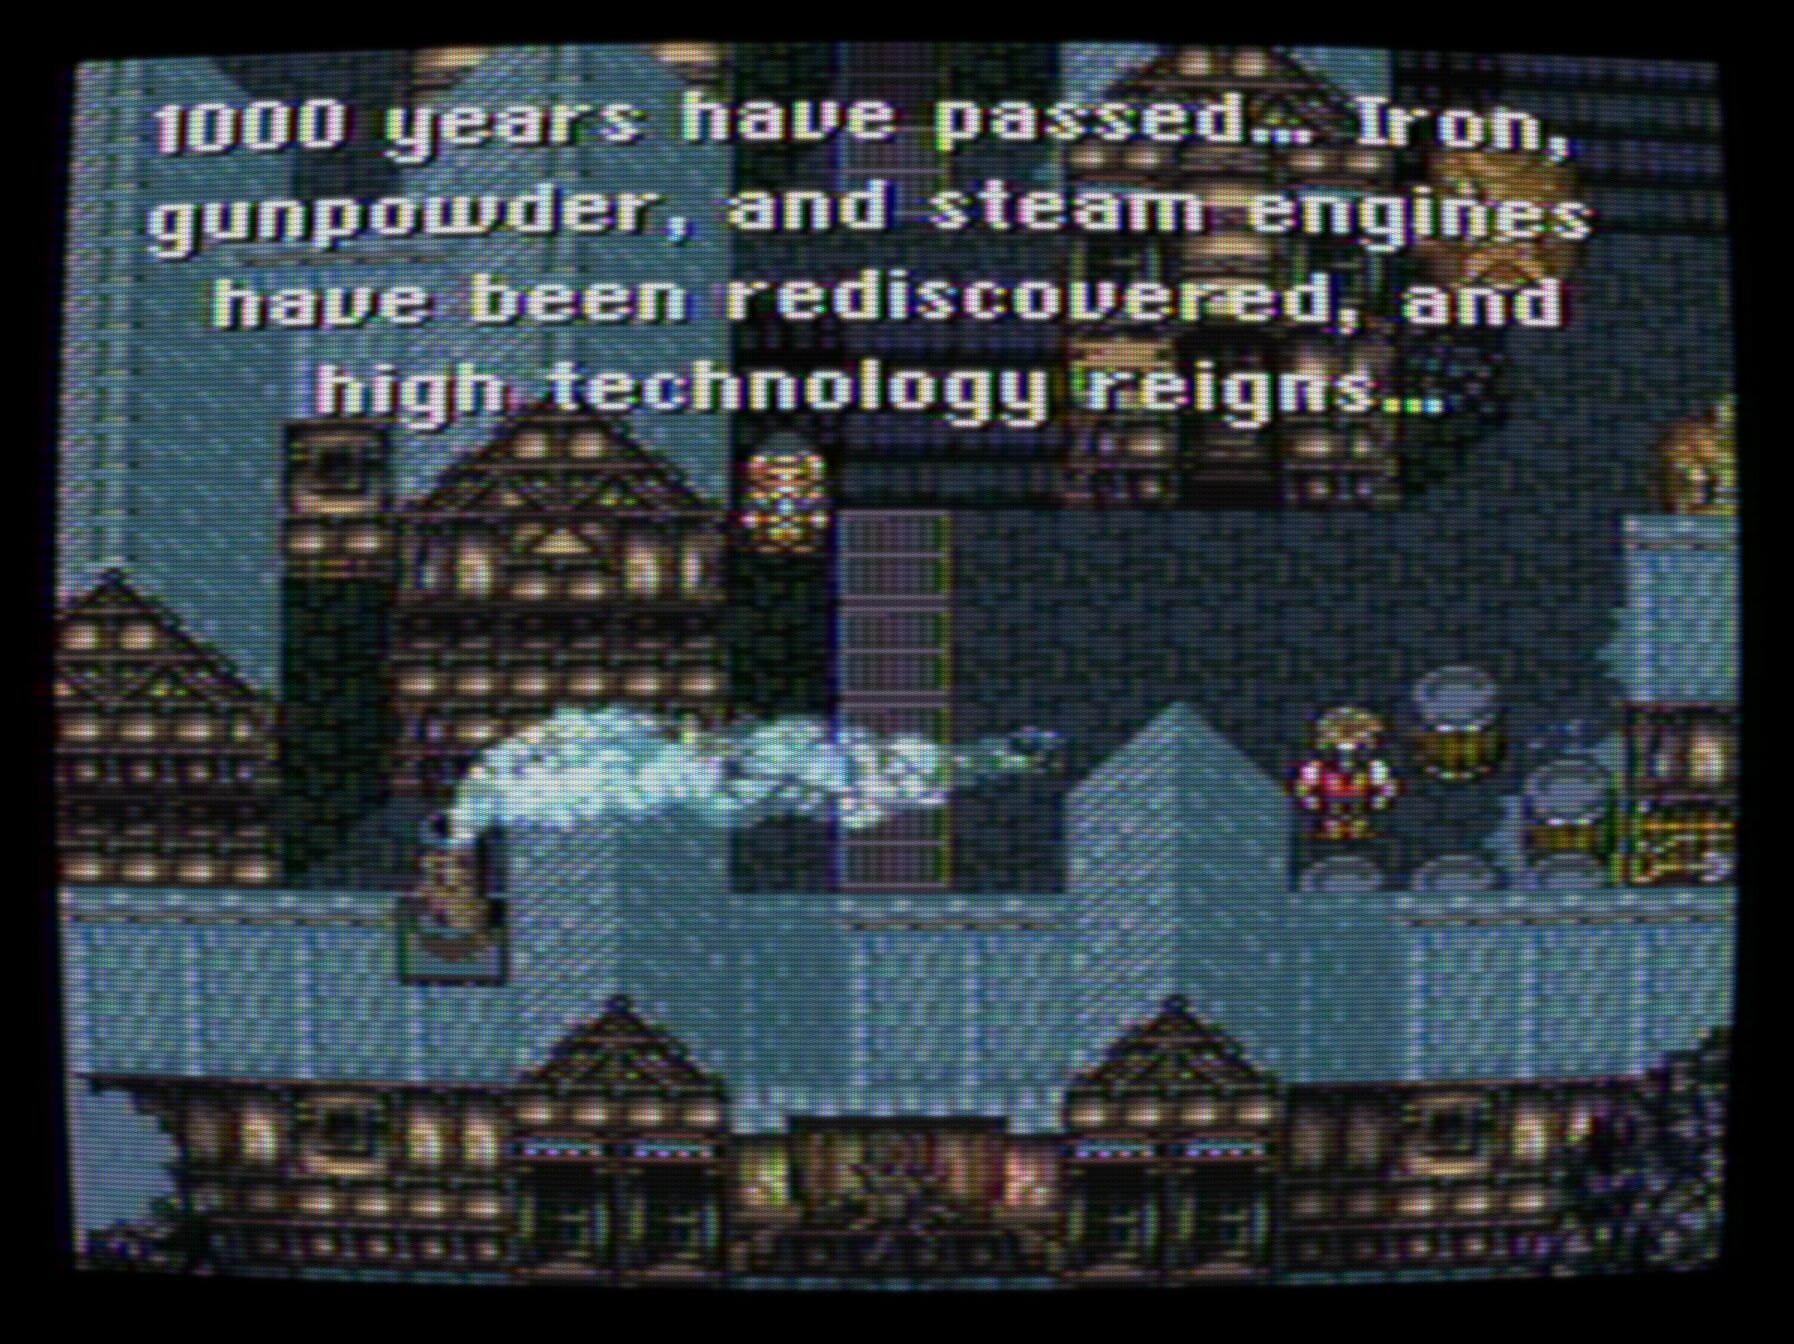
Text on Town
Level Introduction screen
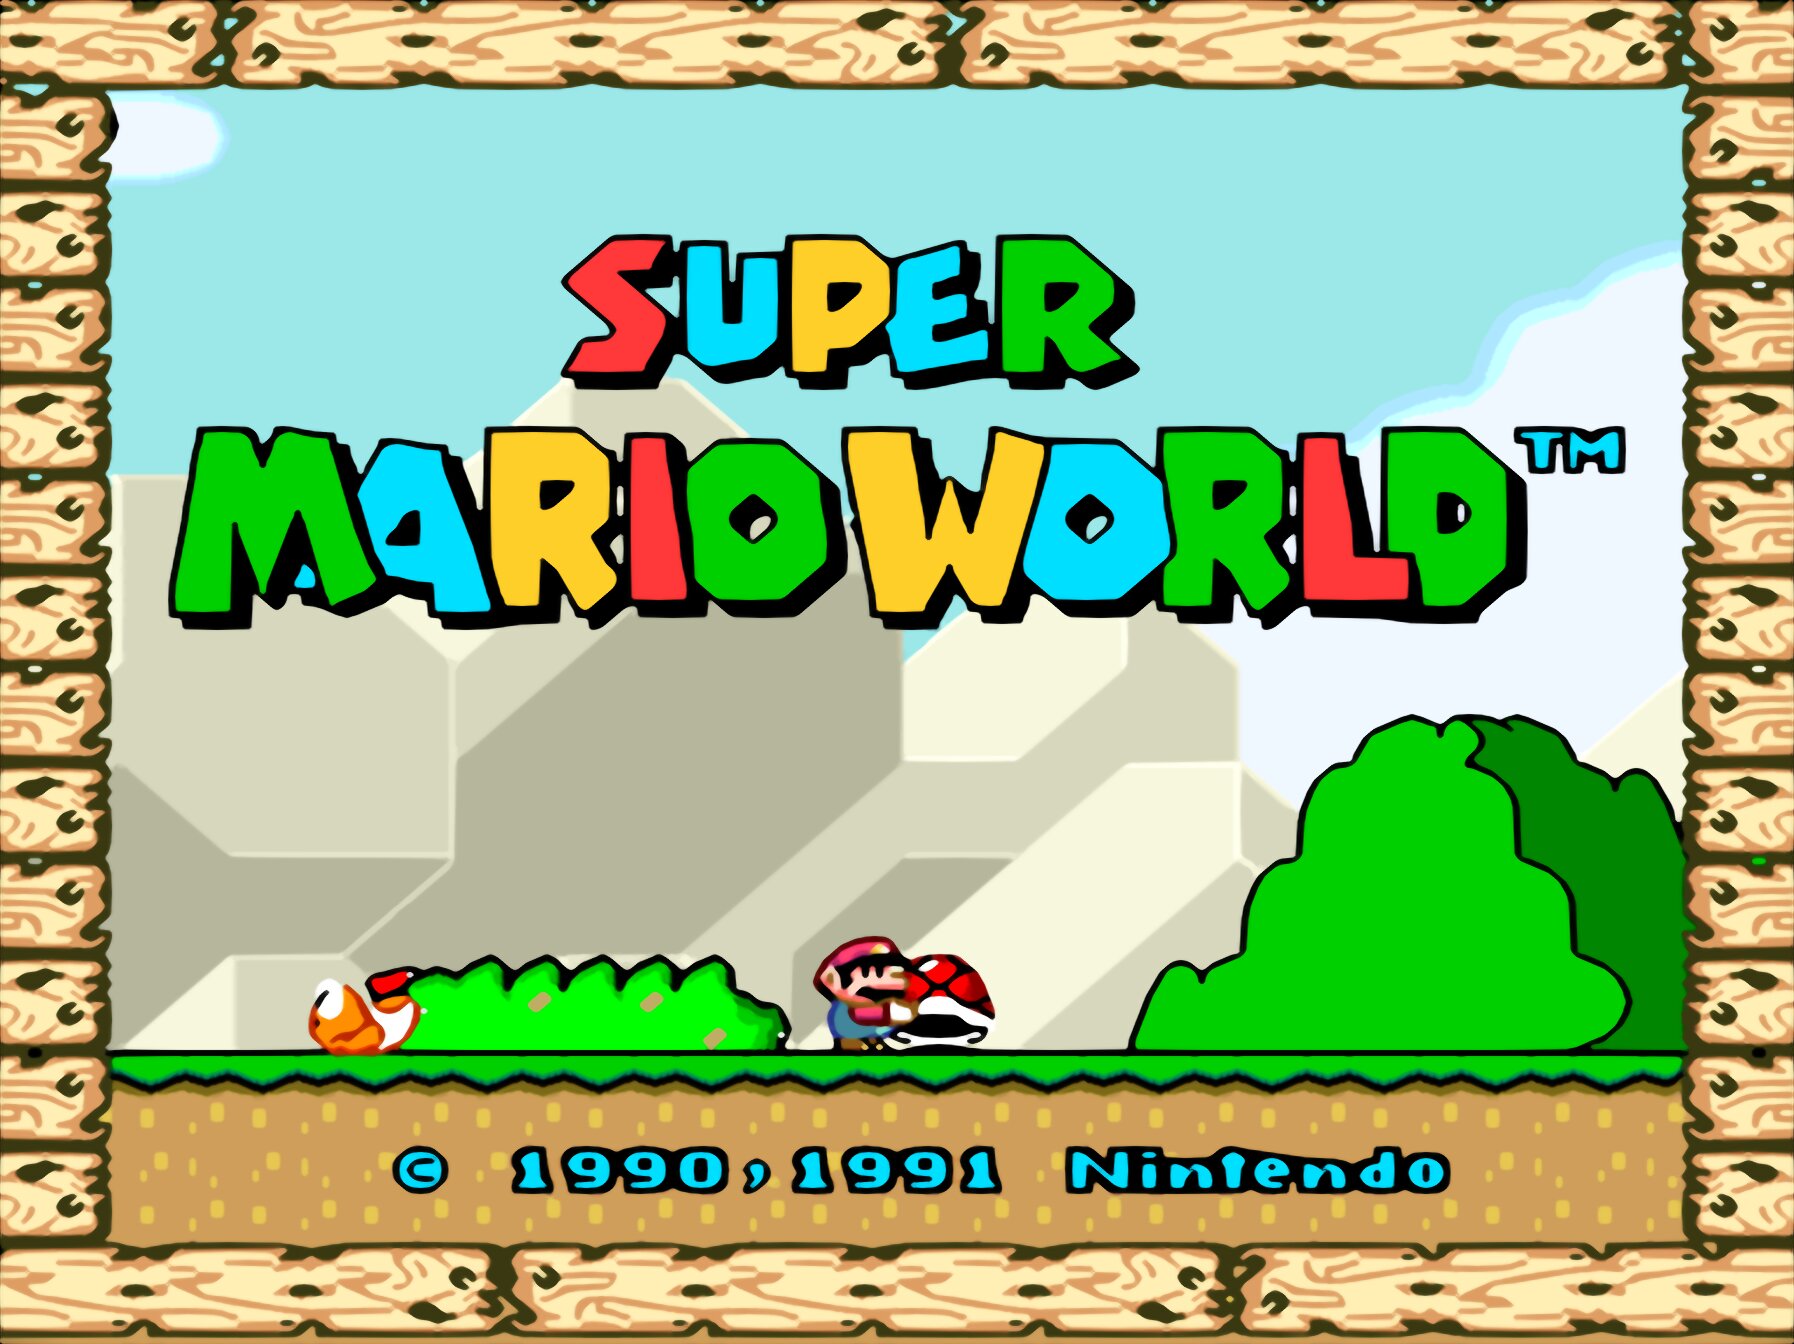
Title Screen
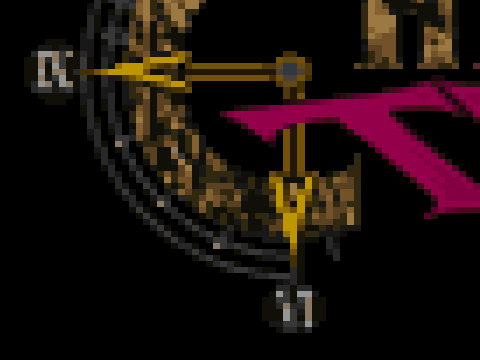
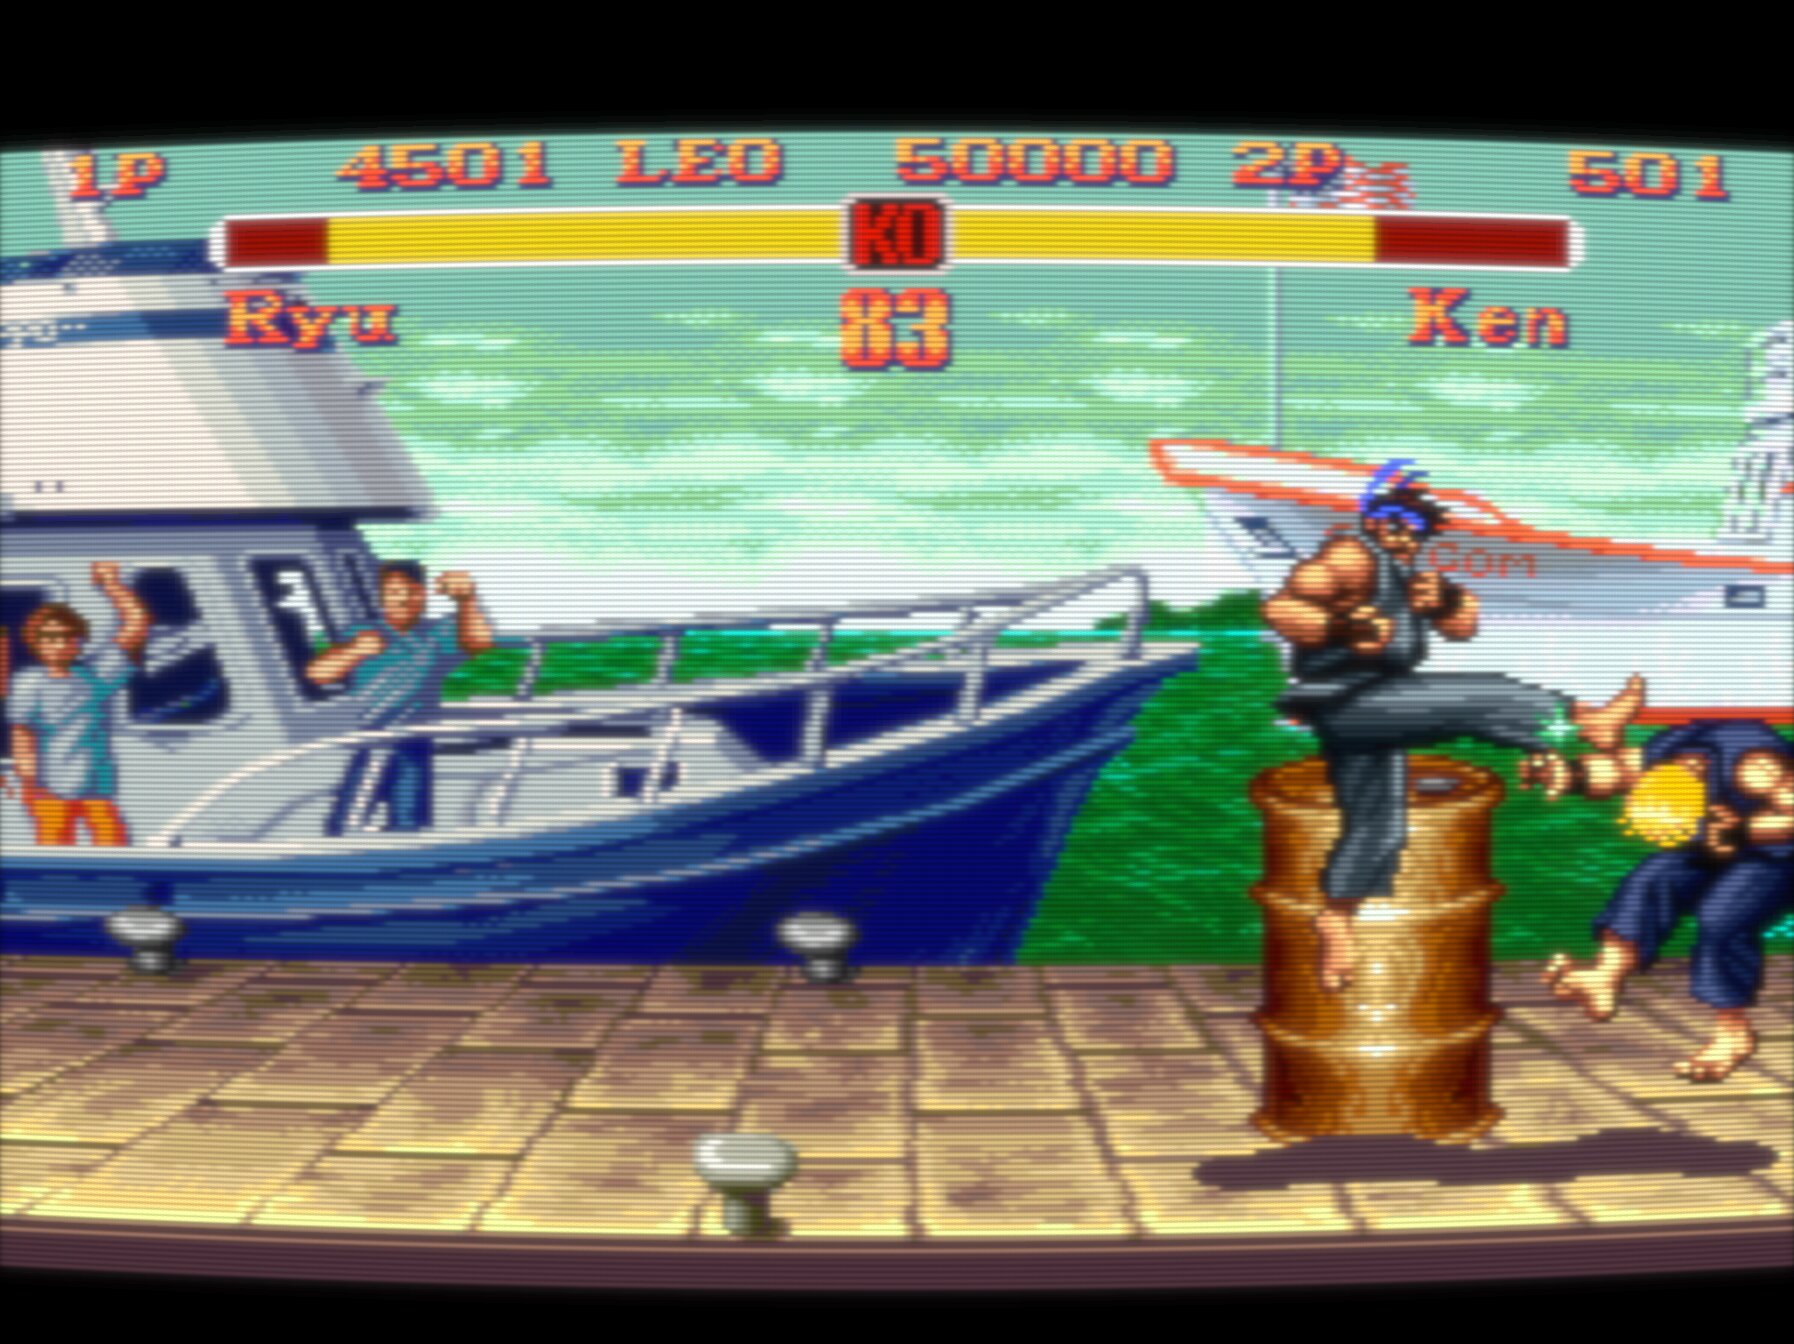
Tatsumaki
Intro Sunrise
Look closer…
A few links to the documentation and external blogs, either with some examples or indepth explanation.
- “Introduction: Shaders” at Libretro Docs
Introduction to what shaders in Libretro and RetroArch are. You can also select a specific shader category on the left and see a lot of examples. Some of the shader have a short description too. - “Guide: Shaders” at Libretro Docs
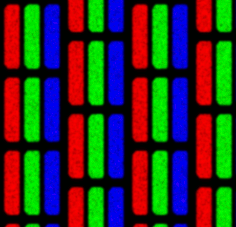
Mini tutorial how to use and apply shader in RetroArch. - “CRT shader masks” at Filthy Pants: A Computer Blog by Hunter K.
This post describes what CRT shader masks are. The entire blog is from a legendary shader creator and has ton of interesting posts. It’s a bit an older blog, but interesting nontheless. - “xBR algorithm tutorial” at Libretro Forums by Hyllian
Another great post from one of the legendary shader creators. An indepth explanation how a specific shader works with ton of example images in the following discussions. Also the very long general discussion about this topic there is very interesting too.
Some video showcase in motion and tutorials too.

1 Comment