RetroArch supports so many systems on so many platforms, with a wide variety of options and features. It is amazing! Here is a little showcase of what I am using.
Let’s talk a little bit about my RetroArch setup of cores and selection of Shader and control schemes. Each of the presets are explained and have associated videos with gameplay footage, to illustrate their visual effects while in motion. I am well aware of some community created high quality Shader compilations, but personally I am just not a fan of the surrounding artworks and don’t see much of a value to my use case at the moment. You will see, that most of my presets involve very little changes or none at all. But I am still in learning phase and my mind may change in the future.


What I am using
My system is a PC with Manjaro Linux. The hardware I am using is a bit old, a Haswell CPU from 2013 with DDR-3 and a GTX 1070. But it is enough to play most stuff without problems. The native resolution of my system is 2560 x 1440p and I usually play games on their native resolution with integer scaling set to ON.
Gamepads and Controls
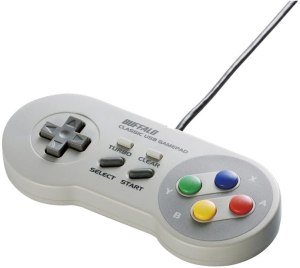
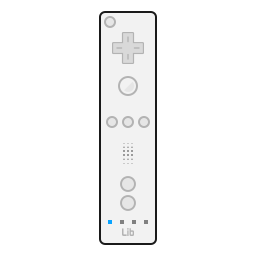
classic
Buffalo Classic USB Gamepad
(inspired by SNES)

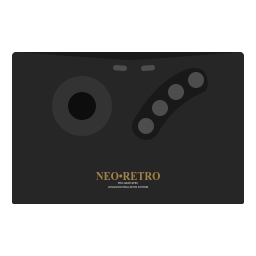
arcade
Mayflash Arcade Fightstick F500

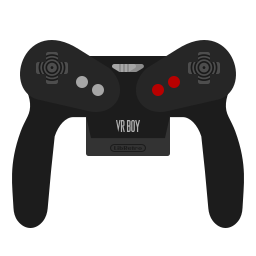
modern
XBox One S Controller

+ keyboard
Roccat Ryos MK Pro
(can be listed in addition to each gamepad, which means the core gets full access to keyboard with game focus set to on)
List of installed cores
These are the systems I emulate and the corresponding cores I personally use. The table has links to Wikipedia articles, official Libretro documentation and the Github development repository for each core. The Shader preset links and systems with HD** label will jump down in this article to a section with description and additional links to gameplay videos.


Those systems marked with two stars “**” are not real systems and exist only as imaginary settings on my setup.
Those systems marked with a single star “*” are not real physical systems, but actual cores with the goal being a fantasy console.
HD Systems

In the above table are some systems listed which have the “HD**” label in the name. This indicates a special setup of mine. Normally, I would play games trying to match the original experience, as accurately emulated as possible. But I also want the option to have enhanced versions of the systems, with higher resolution or better textures, graphical fixes, overclocked processors, without degraded CRT look and higher audio quality processing. These exist as separate settings or cores in my system, so that I can experience those games either in accurate emulation or with enhancements.
Sega – Mega Drive – Genesis HD**

For this I am using Genesis Plus GX Wide, the special version of the core Genesis Plus GX with support for wide screen in 16:9 format. Games may look broken and is a hit and miss, but game specific settings can be configured. Additionally I overclock the CPU to 150% and enable no_sprite_limit hack. Games can be patched to support this 16:9 format, but also non patched games are playable, but might require some tweaking in the settings. I usually have a dedicated folder for games to play on this core. At the moment it is very in early phase of finding settings and I can’t provide any further help.
Sony – Playstation HD**

While Beetle PSX HW in software mode is used for accurate emulation, SwanStation is used to play games in a cleaner version. Games are upscaled at 5 times the native resolution, some (not all) PGXP corrections and hacks are active, a few enhancements for coloring, disabling interlacing and slight overclocking is also in effect. The overall look is smoothed out with a less aggressive anti aliasing filter. The games itself are the exact same and no dedicated folder for the ROMs is needed. I can easily select the core when starting a game or assign a core to a specific playlist.
Nintendo – NES HD**
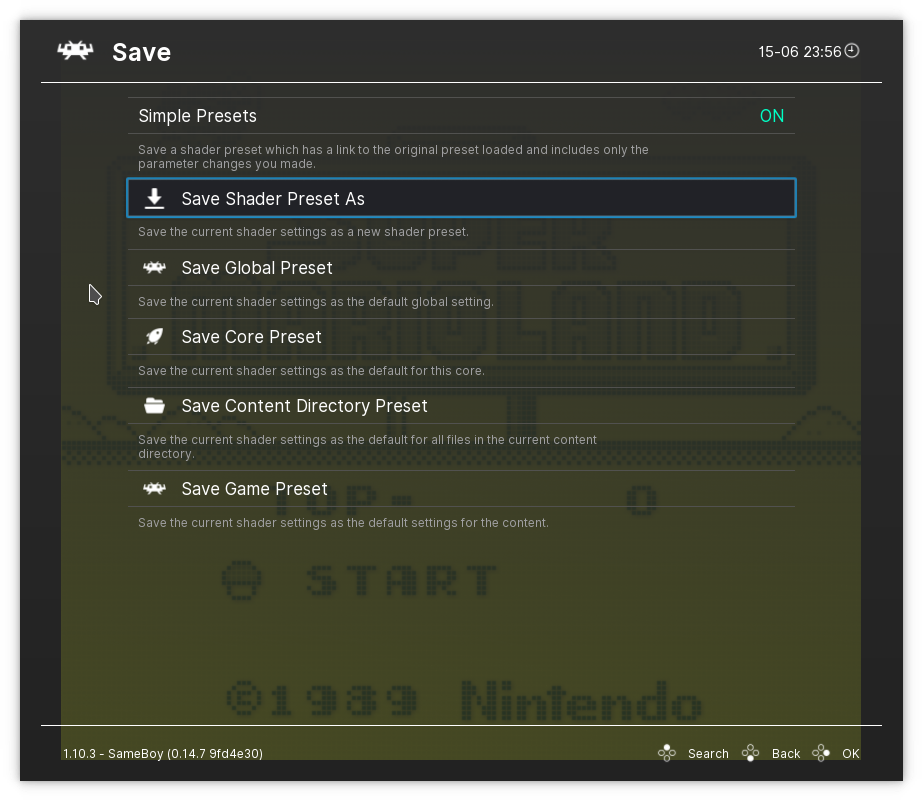
This is the only core that I use the same for regular authentic experience and for my HD setup. To differentiate them I have a dedicated NES HD directory and when saving core and Shader settings, I use the option to save config files as “Save Content Directory Preset”. This means the configuration file has the same name as the NES HD directory and only applies when a game is loaded up from that directory.
There are HD Texture Packs for some NES games out, created specifically to enhance them playing with this emulator/core. These patches, image and audio files need to be saved in the systems directory. I only have a handful of them. The core itself for this directory of games is setup to enable “mesen_hdpacks”. The system is also overclocked to a High degree and “nospritelimit” and “reduce_dmc_popping” are also enabled. This makes the games play much smoother with less slowdowns or flickering, on top of the visual and audio enhancements the HD Packs already provide. The Shader smoothes the look a bit further.
Nintendo – SNES HD**

I usually play with the accurate Mesen-S core with settings to have authentic game experience. But for my HD setup with enhancements, I use actually Snes9x, also a very good emulator. The main reason is for easy MSU-1 support. MSU-1 is a “fantasy” chip designed by byuu (the Higan and BSNES developer), which can be patched into games to enable CD quality audio and video sequences. I have a dedicated folder for games with this patch and files. But that is not all. Those games often have additional patches like the SA-1 enhancement chip or other hacks to reduce slowdowns. Some games include other Romhack patches as well, such as translations, quality of life improvements or removing bugs.
That is for the ROM hacking/patching side. The core itself also is configured differently, with light overclocking of CPU and reduce_sprite_flicker enabled to have less slowdowns on games without patches. Super FX chip is overclocked to 150% too, which may introduce timing issues, but gives some more FPS for those specific titles. This is an ongoing investigation. The smooth filter on top gives the games a more comic look too.
Shader Presets
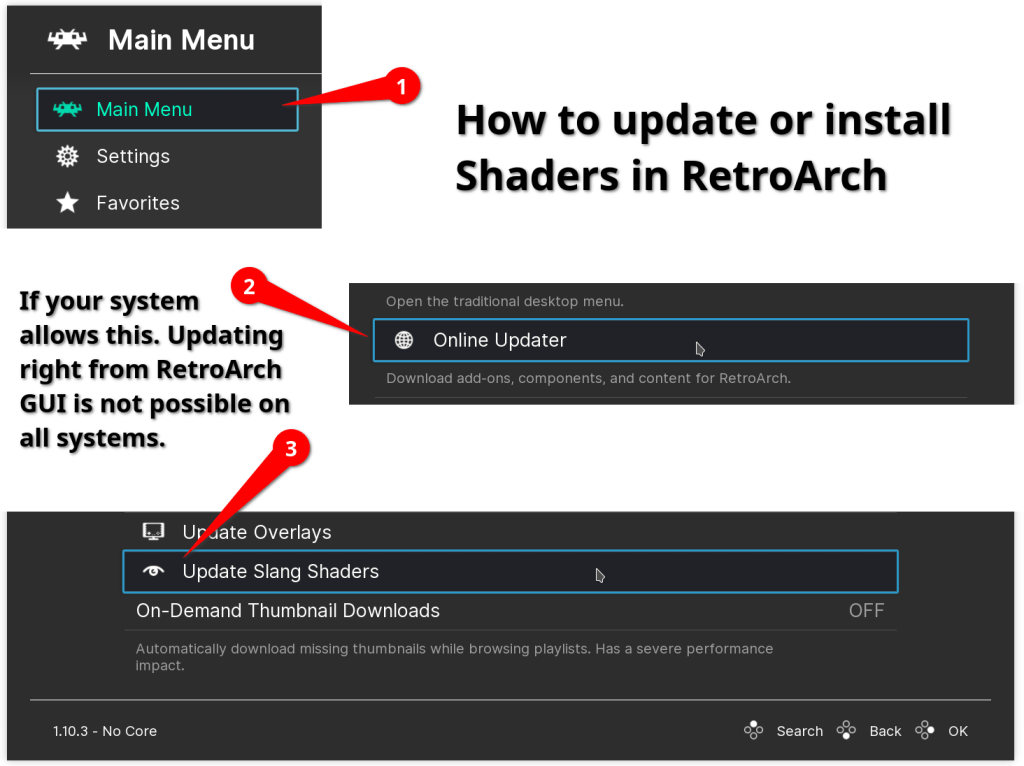
These presets are created by turning on “Simple Presets” option in “Shaders” > “Save” menu of RetroArch. This will make the preset file contain only a link to the original Shader file and the parameter changes I have made. These resulting Shader presets are named to reflect a generic type of hardware or connection. Besides in case of some handhelds, which have a very specific setting. These names are something like “svideo_tv.slangp”, which I am using for most 90s game consoles usually connected to a TV.
BTW, I use .slangp based Shaders alongside with the Vulkan video driver. These should be compatible with most devices, but there are other Shader formats and it’s possible that your device requires a different format. Therefore the filename and path will be different.
How to setup
The idea is to have these base presets and to load up them instead of the Shaders itself. Put the presets in the “shaders” directory of RetroArch. The internal links expect that, unless you modify it off course. And it will only work with the “shaders_slang” type. Open RetroArch, go to “Shaders” menu once a game is loaded up, go into “Load” and search for the directory where you put the presets. After selecting one, go into submenu “Save”, set “Simple Presets” to ON and “Save Core Preset”.

Why am I doing it this complicated way? The reason is I want to have names associated with certain configuration of Shaders (such as “svideo_tv” or “modern”), so I can easily identify and reuse exact same configuration. And now anytime I make changes to any of the presets, all of the cores using this one would be automatically updated. Because I have so many cores and different setups, it is important to be able to easily update everything related at once. You do not need to do this, it is just a suggestion and my personal setup.
My settings
As you see most of the settings are just the same existing Shader, without changes or minimal changes to my liking. Download each Shader preset on Github. The videos and a few more can be accessed through the playlist too: RetroArch shader and core setup gameplay showcase.
arcade_monitor

To differentiate the look and feel from home consoles, a version with strong scanlines effect is used here. Arcade monitors had often better quality than the budget TV at home, at least that is how I see it. The interlace is deactivated, because it caused a visual problem with some games. Important note: MAME does not automatically rotate Shader on games that were played on rotated screens. FB Neo does it correctly.
Gameplay video: CRT Royale Kurozumi Shader at 1440p – DoDonPachi Stage 1 and 2 on RetroArch: FinalBurn Neo
#reference "shaders_slang/presets/crt-royale-kurozumi.slangp"
geom_mode_runtime = "3.000000"
interlace_detect_toggle = "0.000000"
composite_tv

I use this mostly for older game consoles from the 80s connected to the TV, usually with the low quality composite cable. This is a version with NTSC signal degredation is in place, as most games I play are NTSC versions.
Gameplay video: CRT Royale NTSC Composite Shader at 1440p – Castlevania 3 Stage 1 on RetroArch: Mesen
#reference "shaders_slang/presets/crt-royale-ntsc-composite.slangp"
geom_mode_runtime = "1.000000"
handheld_color

A generic colored LCD handheld screen, used by Game Boy Color and some systems similar to it. At the moment this is the same as the handheld_gbc preset, but might differ in future.
Gameplay video: LCD Grid v2 GBC Color Motionblur Shader at 1440p – Shinobi 2 Building and Castle on RetroArch: SMS Plus GX
#reference "shaders_slang/handheld/lcd-grid-v2-gbc-color-motionblur.slangp"
handheld_g&w

This one isn’t actually complete and assumes the use of a specific emulator core named “Handheld Electronic (GW)” to emulate Game & Watch games. The entire look is rendered by the core and it’s assets. The Shader preset I added only adds some frames mixing to get a more believable blurred look. This may not very accurate, but I like the look of it.
Gameplay video: Mix Frames Smart Shader at 1440p – Mario Bros. Game A Score 35 on RetroArch: Handheld Electronic (GW)
#reference "shaders_slang/motionblur/mix_frames_smart.slangp"
handheld_gb
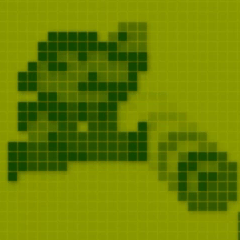
The greenish base Game Boy LCD screen look. Everything from the colors, the dot display and motion blur is emulated with this single Shader created specifically for the system.
Gameplay video: Gameboy Shader at 1440p – Super Mario Land Stage 1.1 to 1.3 on RetroArch: SameBoy
#reference "shaders_slang/handheld/gameboy.slangp"
handheld_gba
A specific shader for the Game Boy Advance. Also the colors are a bit washed out, like original hardware.
Gameplay video: LCD Grid v2 GBA Color Motionblur Shader at 1440p – Pokemon Ruby Start Treecko on RetroArch: mGBA
#reference "shaders_slang/handheld/lcd-grid-v2-gba-color-motionblur.slangp"
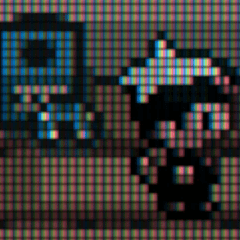
handheld_gbc

Colored LCD handheld screen, used by Game Boy Color. Not much to tell here, has the dotted look and motion blur in effect, like most other handheld presets.
Gameplay video: LCD Grid v2 GBC Color Motionblur Shader at 1440p – Shantae Mimic on RetroArch: SameBoy
#reference "shaders_slang/handheld/lcd-grid-v2-gbc-color-motionblur.slangp"
handheld_grey

A generic grey LCD handheld screen, used by Game Boy Pocket and some systems similar to it.
Gameplay video: Game Boy Pocket Shader at 1440p – King of Fighters R1 Terry, Kim, Athena on RetroArch: Beetle NeoPop
#reference "shaders_slang/handheld/gameboy-pocket.slangp"
grey_balance = "2.500000"
screen_light = "1.200000"
shadow_opacity = "0.850000"
handheld_lcd

A generic LCD screen for any handheld systems I don’t know how it looked. At the current time this is only used by the fantasy console TIC-80 that never existed as a hardware.
Gameplay video: Retro v2 Shader at 1440p – Super Meat Boy TIC-80 Demake The Forest 1 to 15 on RetroArch: TIC-80
#reference "shaders_slang/handheld/retro-v2.slangp"
handheld_nds
Similar to the previous handheld settings, this one is just optimized for a single handheld, the Nintendo DS.
Gameplay video: LCD Grid v2 NDS Color Motionblur Shader at 1440p – Mario Kart DS Mushroom Cup on RetroArch: DeSmuME
#reference "shaders_slang/handheld/lcd-grid-v2-nds-color-motionblur.slangp"
handheld_psp
Specific to Playstation Portable and it’s typical look on the handheld LCD screen. I just lowered a little bit of response time.
Gameplay video not available. (Technical difficulties to capture video correctly.)
#reference "shaders_slang/handheld/lcd-grid-v2-psp-color-motionblur.slangp"
response_time = "0.220000"
handheld_sv

A handheld system very similar to the original Game Boy look, even with the greenish coloring. After watching some videos and read about the system, I changed a few settings, to make it look a bit worse and to look a little bit different. This maybe not very accurate.
Gameplay video: Gameboy Shader at 1440p – Hero Hawk Score 14900 on RetroArch: Potator
#reference "shaders_slang/handheld/gameboy.slangp"
baseline_alpha = "0.150000"
grey_balance = "2.700000"
response_time = "0.560000"
bg_smoothing = "0.300000"
handheld_virtualboy

Here is another one that assumes a specific emulator core as it’s base, Beetle VB. Most of the stuff is emulated with the core itself, like the black & red coloring. This Shader preset just adds the retro dotted look of the screen. I played the original Virtual Boy long time ago, but don’t remember how it really looked like, besides the coloring. So this is my current guess.
Gameplay video: Retro v2 Shader at 1440p – Virtual Boy Wario Land Stage 1 on RetroArch: Beetle VB
#reference "shaders_slang/handheld/retro-v2.slangp"
hd_antialias
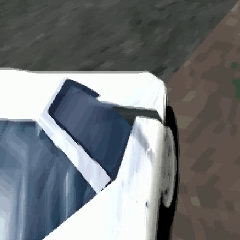
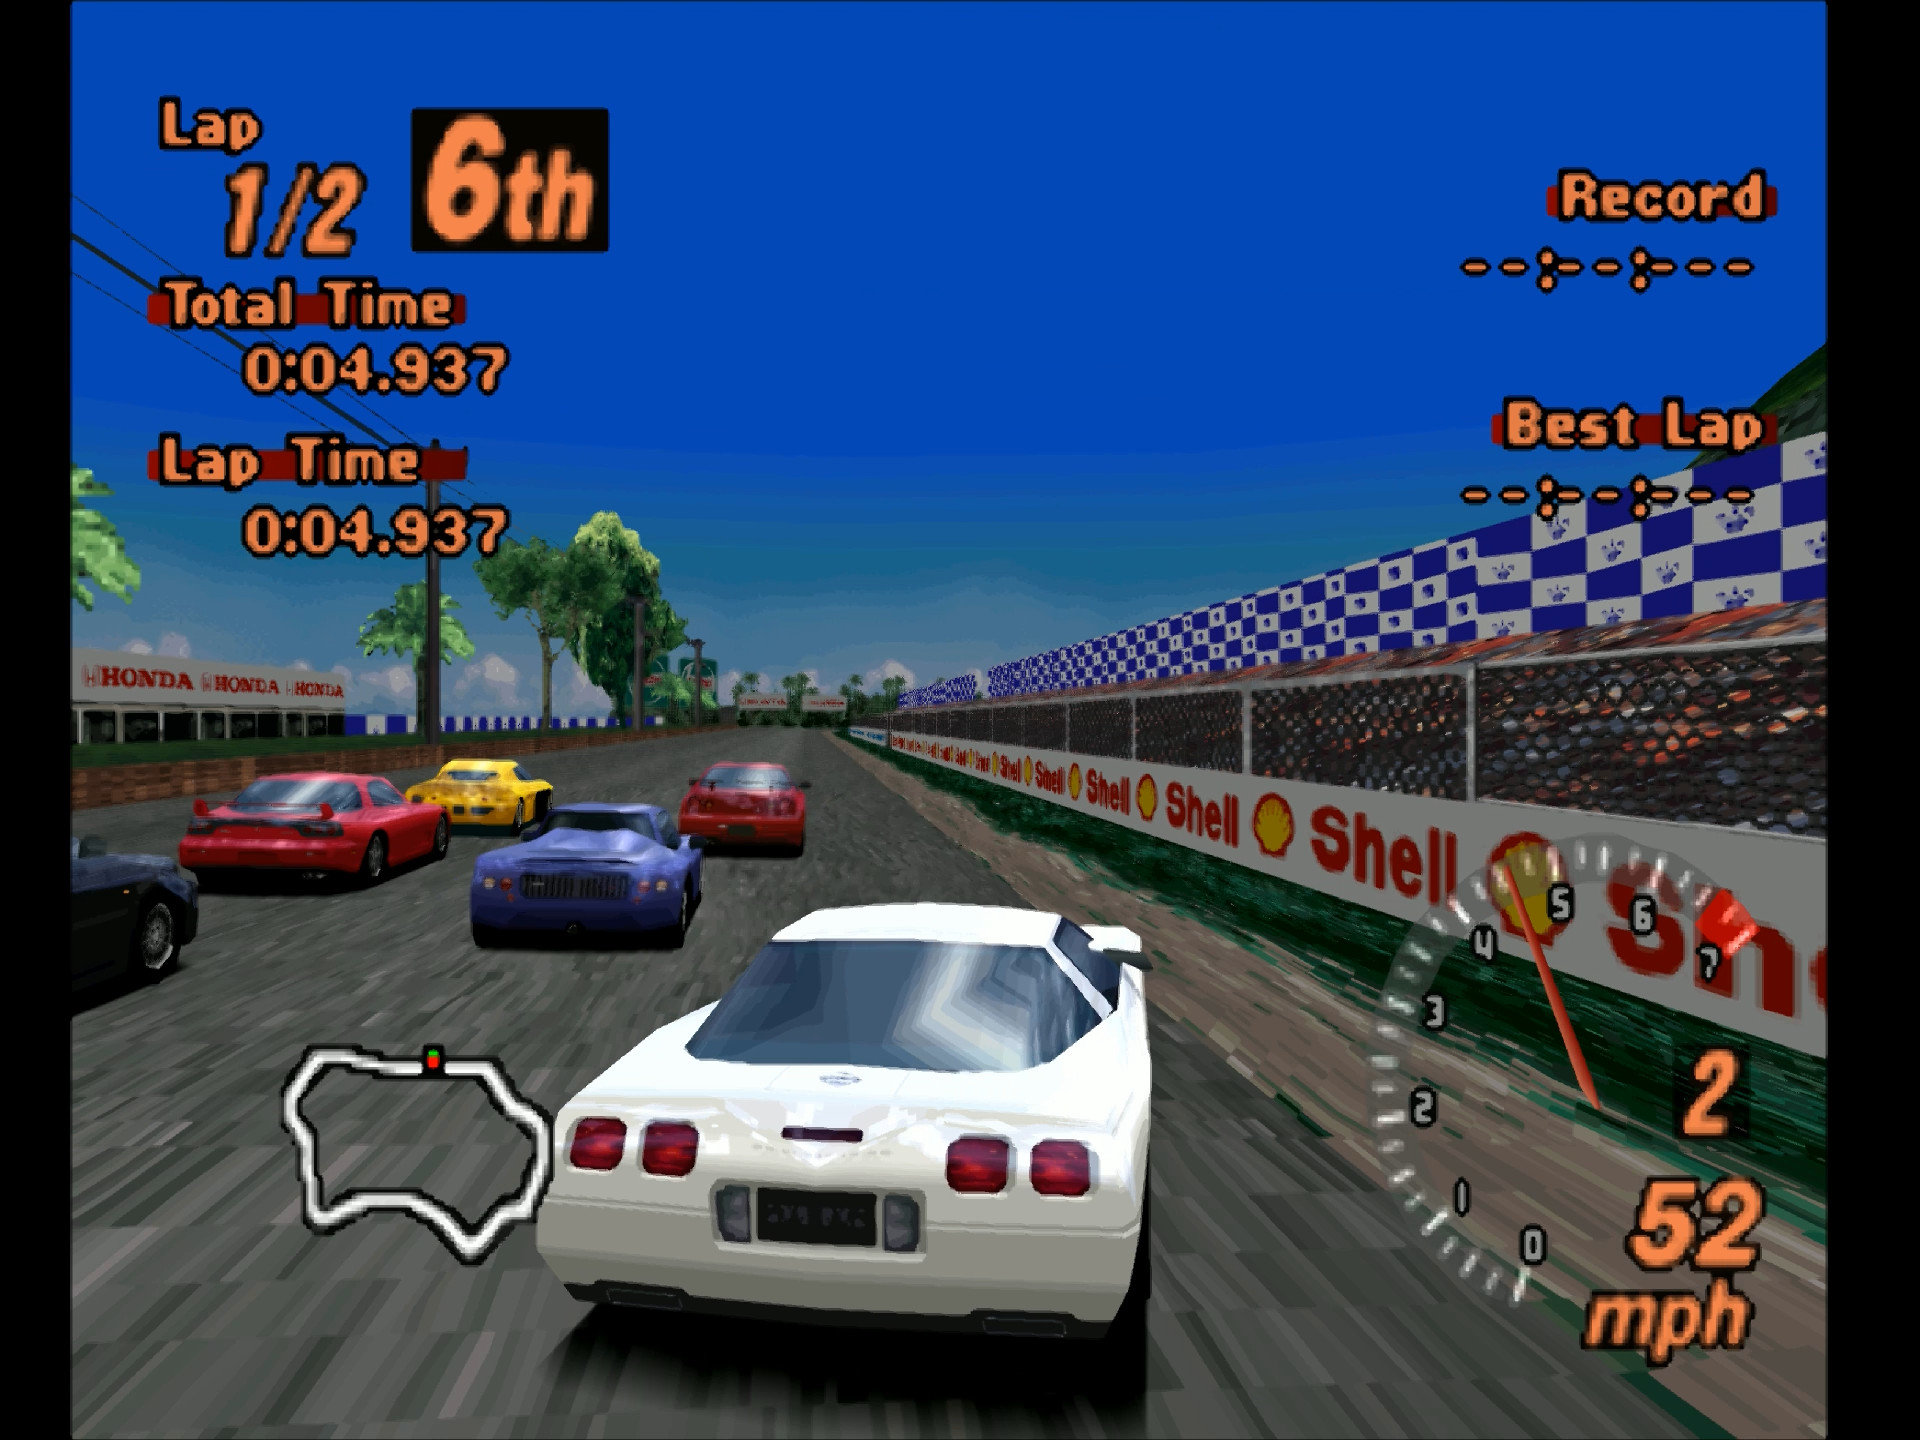
This one is for smoothing out the pixelated look a bit. In fact, it is one of the few that worked fine for a specific use case. I use the emulator core Swanstation to enhance image quality with higher resolution and a few other settings. This Shader preset works fine with it and smoothes out a little bit more to get a typical HD Remaster like look.
Gameplay video: AA Shader 4.0 Level 2 Shader at 1440p – Gran Turismo 2 Tahiti Road on RetroArch: SwanStation
#reference "shaders_slang/anti-aliasing/aa-shader-4.0-level2.slangp"
hd_smooth

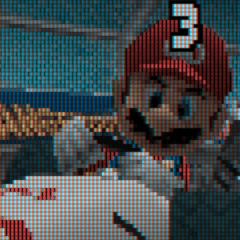
Plays a similar role to preset hd_antialias, but has a much bigger impact. Image is smoothed out to a degree that it looks quite like a comic. I use this one usually on systems and cores to emulate HD Remake like look. These are the “HD” named setups of regular consoles.
Gameplay video: ScaleFX rAA aa Shader at 1440p – A Link to the Past DX Rescue Zelda on RetroArch: Snes9x
#reference "shaders_slang/presets/scalefx+rAA+aa.slangp"
modern

Okay, so what I count as modern are game consoles played on a CRT TV with an RGB connection. That means no typical degradation of cables or the NTSC signal to get a clean image. The interlace effect and curvature are also deactivated. But the overall base of the look is still the same used by composite_tv and svideo_tv.
Gameplay video: CRT Royale Shader at 1440p – Quake 2 Stage 1 Part 1 on RetroArch: vitaQuake 2
#reference "shaders_slang/crt/crt-royale.slangp"
interlace_detect_toggle = "0.000000"
pc_monitor

This is almost like the modern preset look. Currently biggest difference is the inclusion of curvature. The preset is used by PC computer monitors with RGB connection and no degredation.
Gameplay video: CRT Royale Shader at 1440p – DOOM Stage 1 and 2 on RetroArch: DOSBox Pure
#reference "shaders_slang/crt/crt-royale.slangp"
geom_mode_runtime = "1.000000"
interlace_detect_toggle = "0.000000"
svideo_tv

Very similar to the composite_tv, with curved screen and NTSC degredation, but a little bit cleaner. Only difference is it uses S-Video cable connection. I use this one mostly for game consoles from 90s and early 2000s hooked up to a TV.
Gameplay video: CRT Royale NTSC SVideo Shader at 1440p – Conker’s Bad Fur Day Grim Reaper on RetroArch: Mupen64Plus Next
Gameplay video: CRT Royale NTSC SVideo Shader at 1440p – Garou Mark of the Wolves Butt Story 1 and 2 on RetroArch: FB Neo
#reference "shaders_slang/presets/crt-royale-ntsc-svideo.slangp"
geom_mode_runtime = "1.000000"
vector_monitor
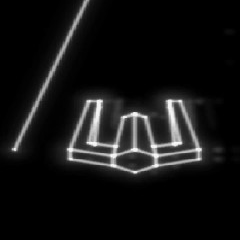
Now systems based on vector graphics often looked differently from regular monitors and games. This one is currently only used by the system GCE Vectrex and on the core vecx. Like on handheld systems, it had a screen attached to the console that was different form your TV, but had no dots. Most of the stuff is handled by the emulator core. This Shader just adds some vector glowing effect to it.
Gameplay video: Vector Glow Shader at 1440p – Fortress of Narzod Score 3190 on RetroArch: VecX
#reference "shaders_slang/crt/vector-glow.slangp"

The end is nigh
RetroArch is complex, flexible, so enormous, there is a lot to unpack. I want to end this discussion here and point to some of my favorite resources
Libretro forum Shaders
- CyberLab Mega Bezel Death To Pixels Shader Preset Pack
- HSM Mega Bezel Reflection Shader! – Feedback and Updates
- New CRT shader from Guest + CRT Guest Advanced updates
- Sony Megatron Colour Video Monitor
YouTube channel recommendations
 Austin Eruption: Specific topics and lists of games to talk about, mostly retro, but not limited to.
 Console Wars: Extremeley goofy comparisons of two similar games in each episode with funny sketches in between.
 DidYouKnowGaming: Covers facts, Easter eggs, secrets, glitches and more, mostly about popular games.
 Displaced Gamers: Knowledgable and indepth code analysis of hardware and software, specifically about NES.
 Game Sack: Reviews, comparisons, top lists and general talks about classic and sometimes modern videogames.
 Gaming Historian: Documentaries about videogames history and retro in general.
 Jeremy Perish | Video Works: Series of documentary and game analysis about oldschool games.
 Karl Jobst: Dedicated to documentaries and news about speedrunning scene of videogames in general.
 Kim Justice: Focus on documentaries, top lists and game talks about home computers from Europe.
 LowSpecGamer: After recent focus change, now quality documentaries about gaming world and computer in general.
 MetalJesusRocks: General purpose gaming channel about oldschool and current gen. Lot of collectors talk and game recommendations.
 Modern Vintage Gamer: Specialized into emulation, news and coverage of oldschool games, but also mixed with current tech.
 My Life in Gaming: Indepth game and hardware analysis and recommendations for retro gaming.
 NESComplex: Documentaries, reviews and and sometimes top lists about the NES.
 Nostalgia Nerd: Talks and documentary about gaming history and computer hardware.
 Octavius King: Retro game and genre reviews and some console documentaries.
 ProJared: Mostly reviews or talks about specific oldschool and new games, with a strong focus on RPGs.
 Retro Crisis: New channel about retro games and emulation in general, with tips and tricks and reviews.
 Retrovania: Mostly reviews and sometimes podcasts about retro games.
 Sega Lord X: Dedicated to Sega stuff, but also looking to other areas from time to time. You’ll get reviews and top lists.
 Sharopolis: Technical talks about specific topics and comparisons of old and sometimes obscure systems.
 SNES drunk: Weekly few minuts short on point reviews of mostly oldschool games. And not only about SNES.
Random notes, bugs and findings
- Video capture: Some cores Dreamcast PSP and 3DS couldn’t be recorded, as the video files got out of sync.
- Video capture: Highres footage from Perfect Dark N64 didn’t work correctly.
- Video capture: There is a recording bug. At least other Nvidia users using Nvenc reported the same issue. Start recording, toggle “Threaded Video” while recording will resolve stuttering gameplay and make it smooth again. You can stop and restart recording without toggling Threaded again, until game or core is reloaded. I made an issue here: https://github.com/libretro/RetroArch/issues/14013
- Shader: MAME does not autorotate shader for vertical games. FB Neo and MAME 2003 Plus does it.
- Shader: I also still have a problem with SNES games using highres mode, such as Trials of Mana. Everytime textbox or menu appears, game switches resolution. And with some Shader this looks terrible.